
Want people to see what a floor looks like before they arrive? This article shows you how to add photos to a level, choose the main photo people see first, and delete photos you no longer need.
Add a photo
-
Open the level from Maps.
-
Click the Add Photos icon (the picture) at the top right.
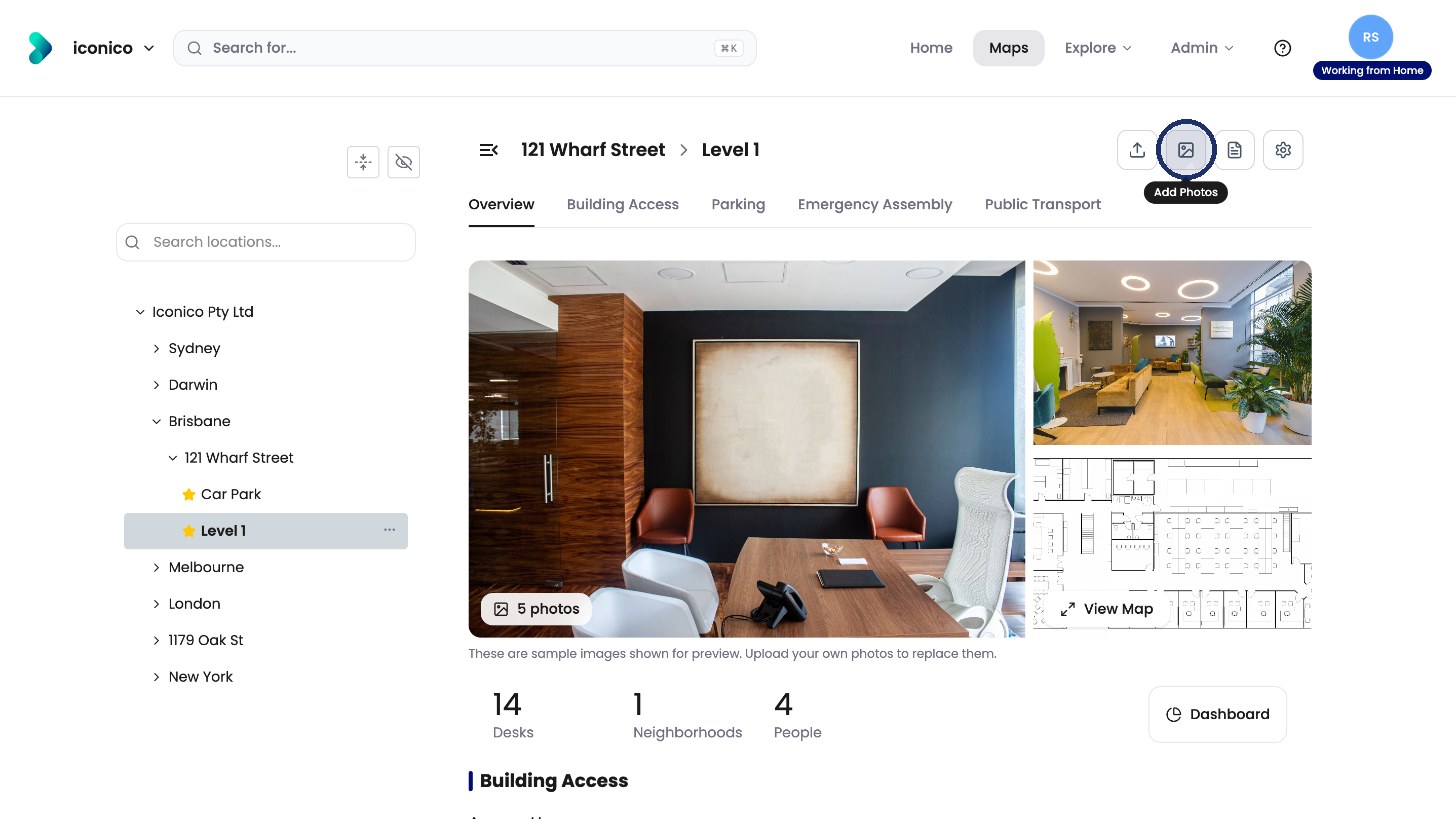
Click Add Photos at the top right of the level page. -
Choose how to add photos. You can:
-
drag images into the box, or click to browse for them
-
click Use Phone Camera to take a photo on your phone
-
click Search Online to find photos of the area
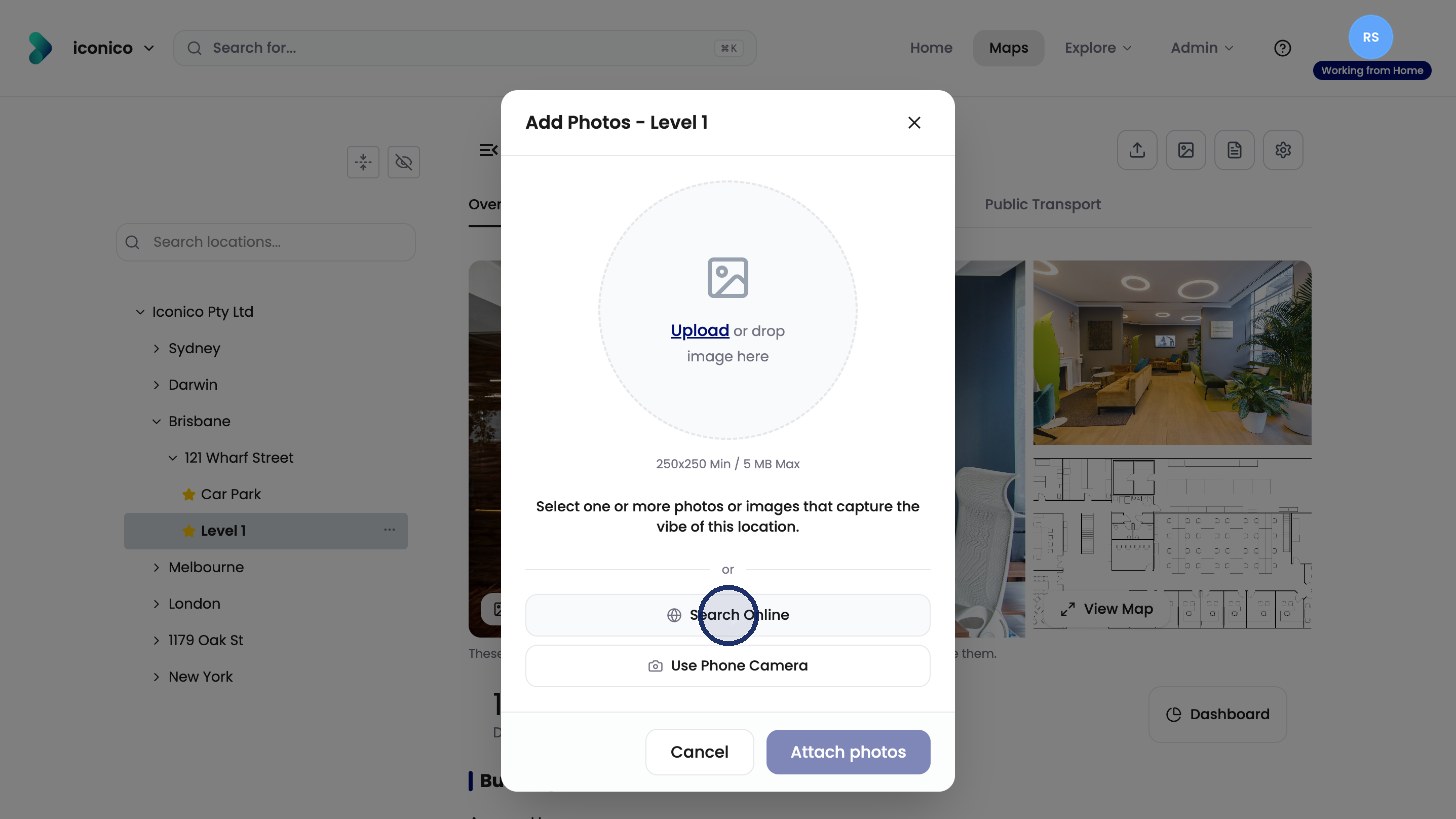
Upload, use your phone, or search online. -
Search online
-
Type an address or area and press Enter.
-
Click a photo to select it.
-
Click Use selected photo.
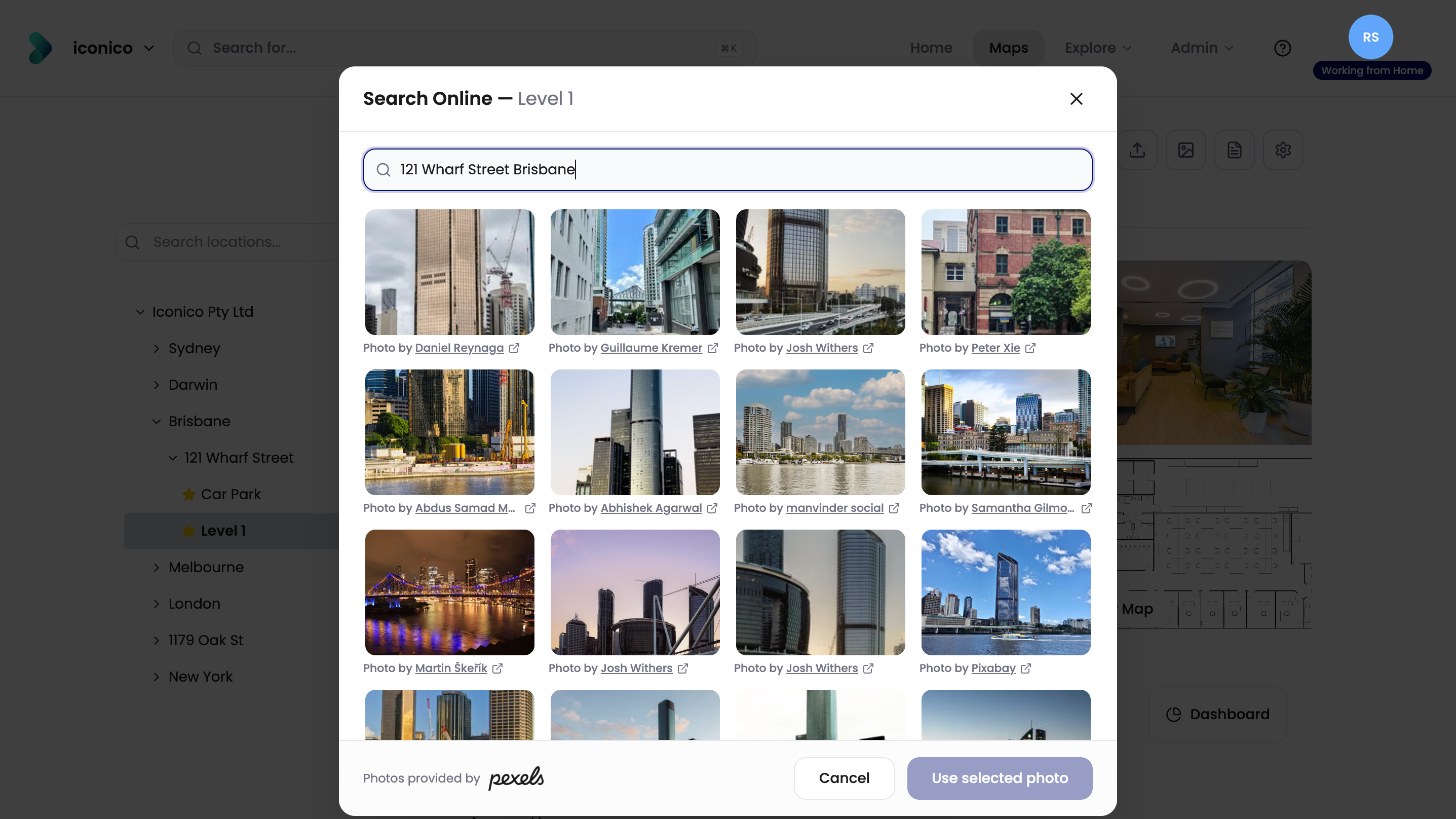
Search results for the address you typed. 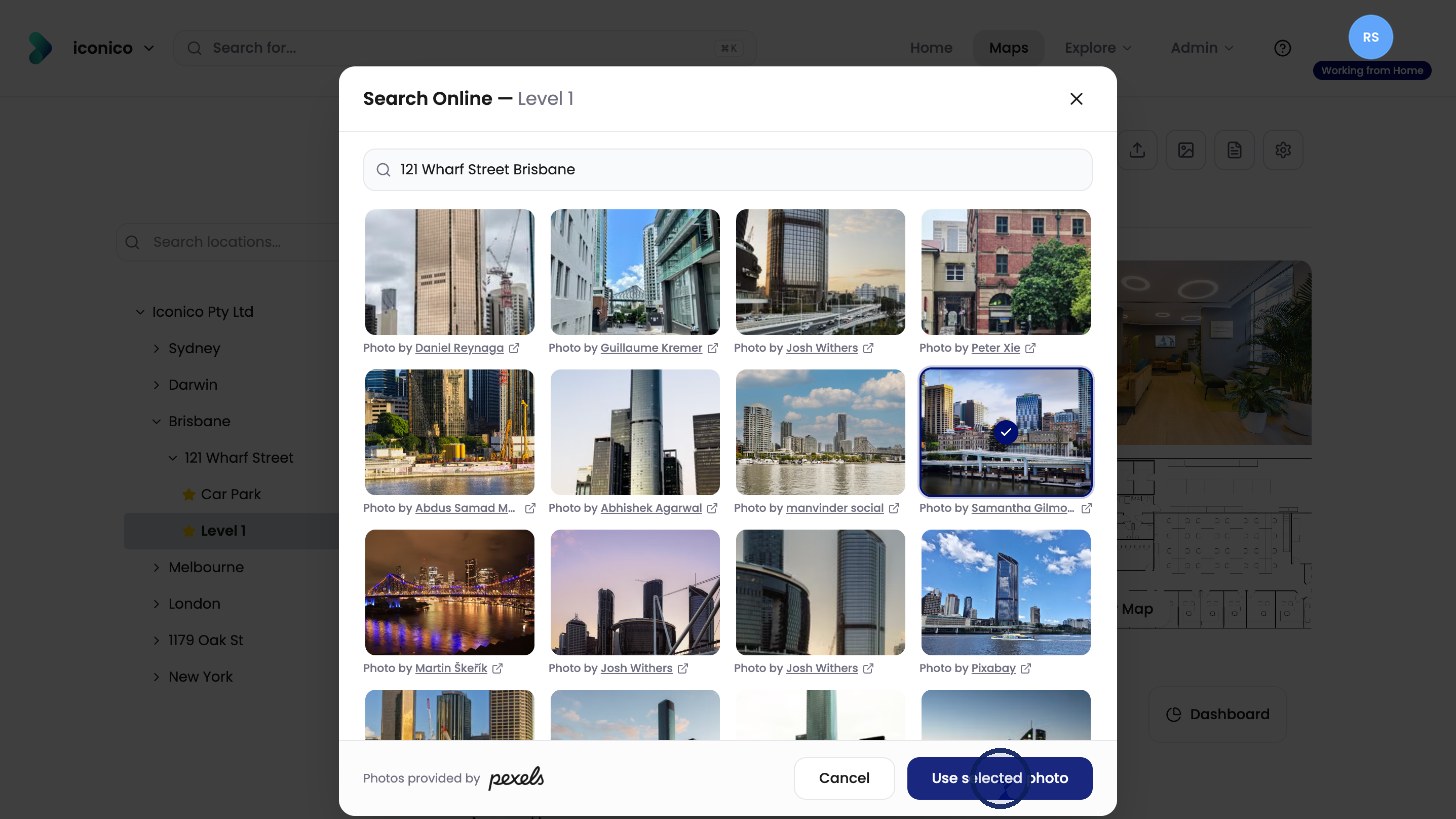
Select a photo, then click Use selected photo. -
Click Attach photos.
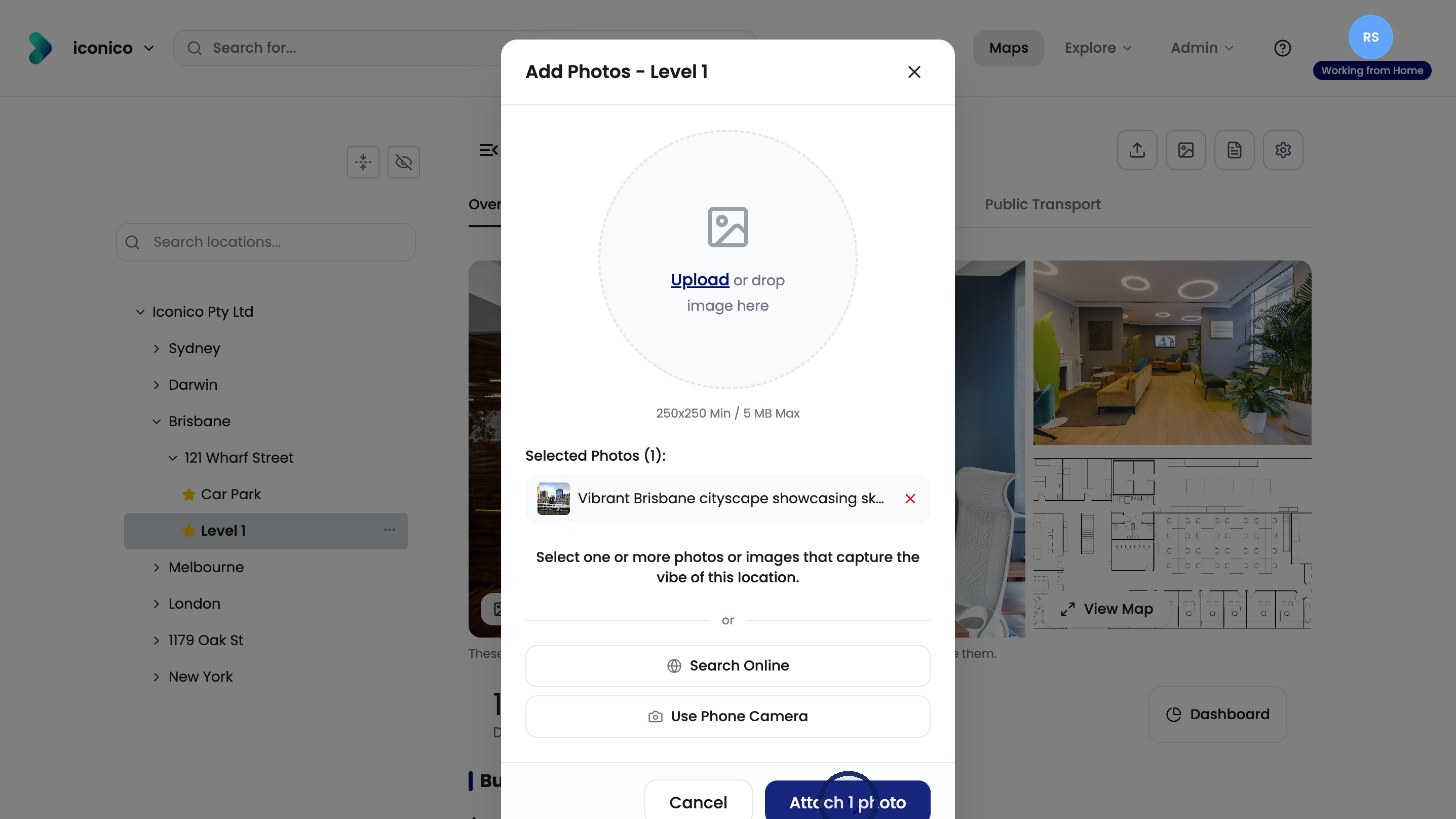
Click Attach photos to add them to the level.
Your photo now leads the level page. Adding your first photo replaces all the sample photos.
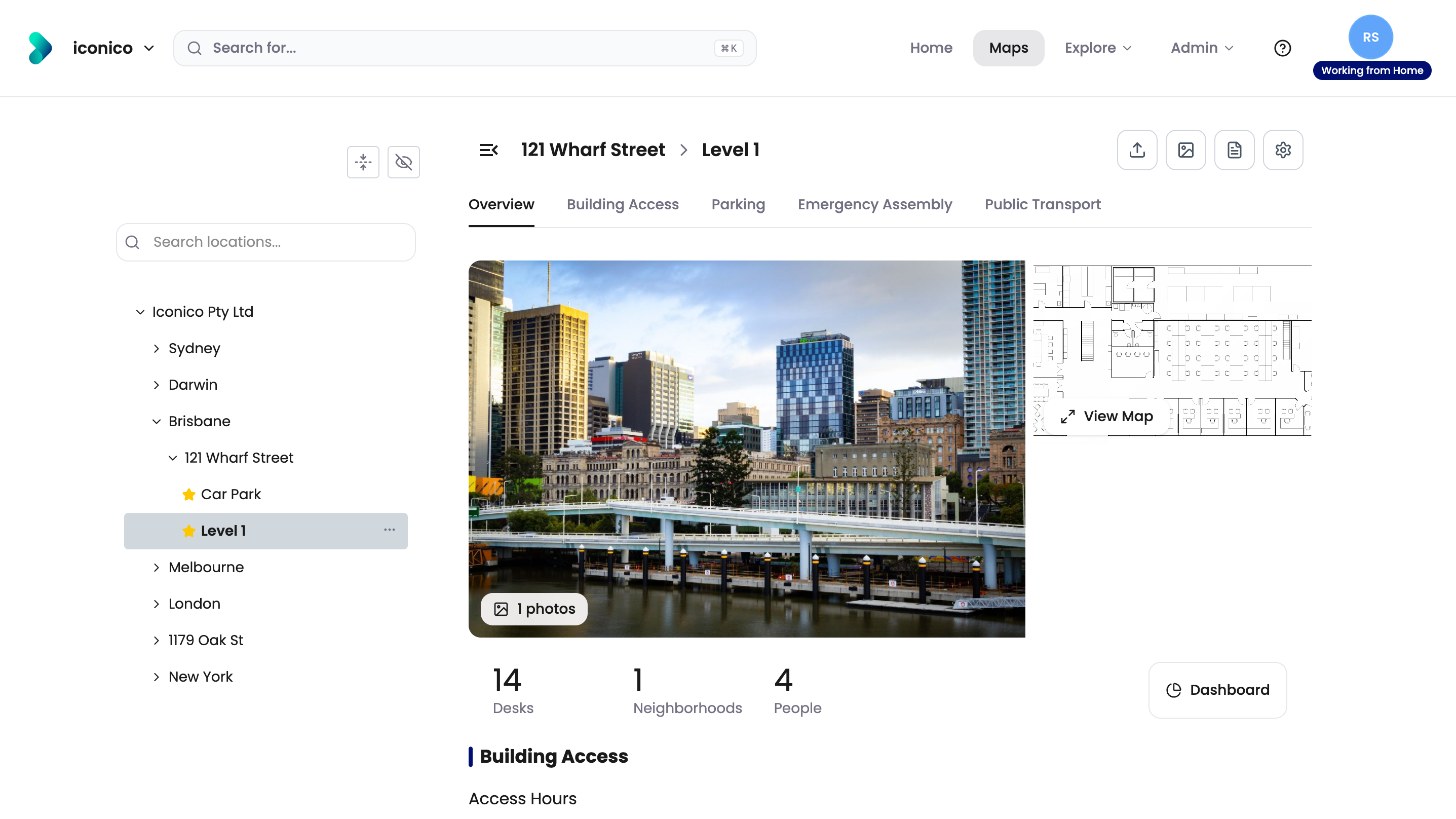
Images must be at least 250 × 250 pixels and no larger than 5 MB.
Set the primary photo
The primary photo is the first one people see on the level page.
-
Click the photo count on the level page to open the gallery.
-
Use the arrows to find the photo you want.
-
Click Set as Primary. The button changes to Primary Photo.
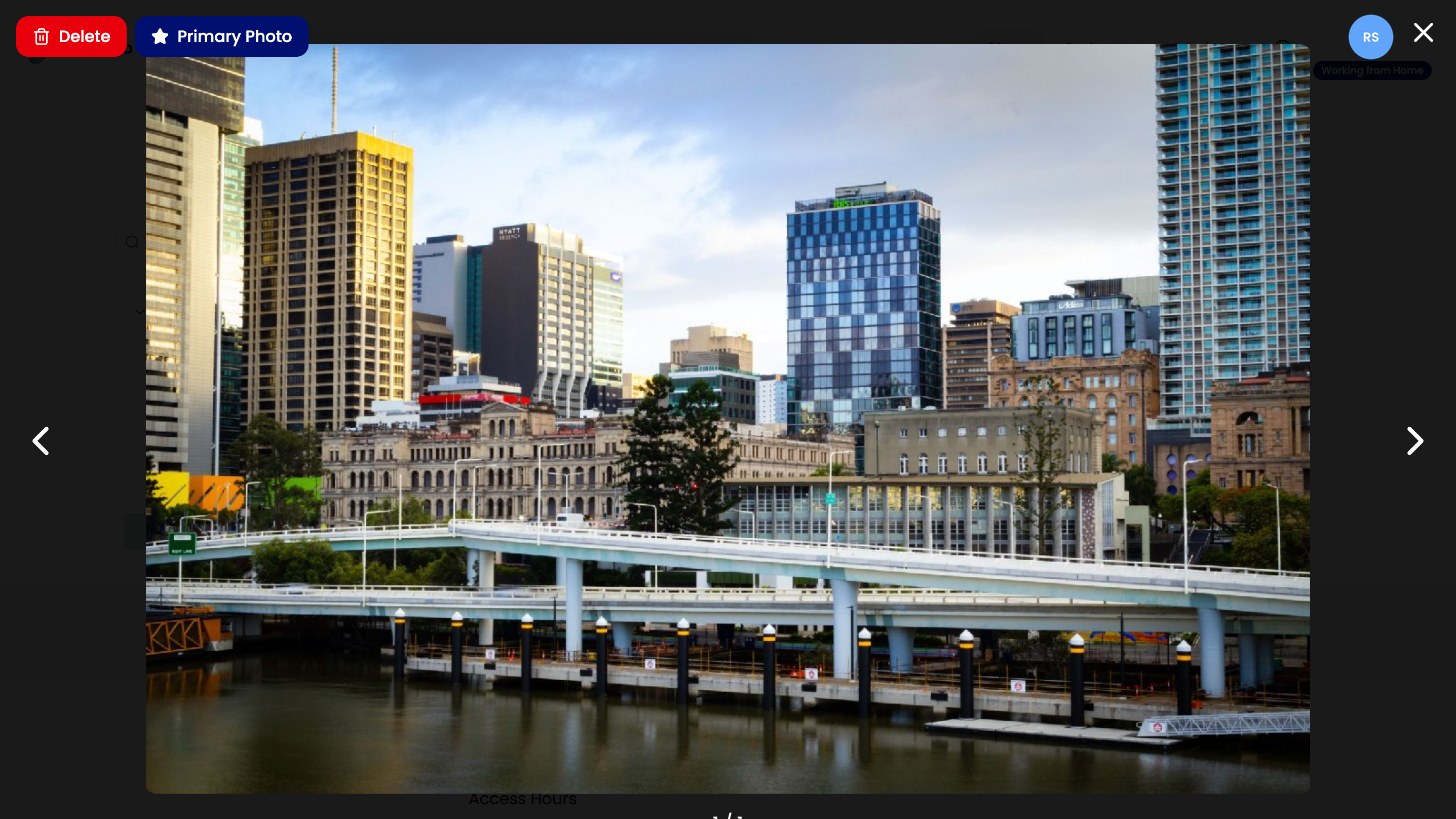
The gallery. The primary photo shows Primary Photo.
Delete a photo
-
Open the photo in the gallery.
-
Click Delete, then Yes.
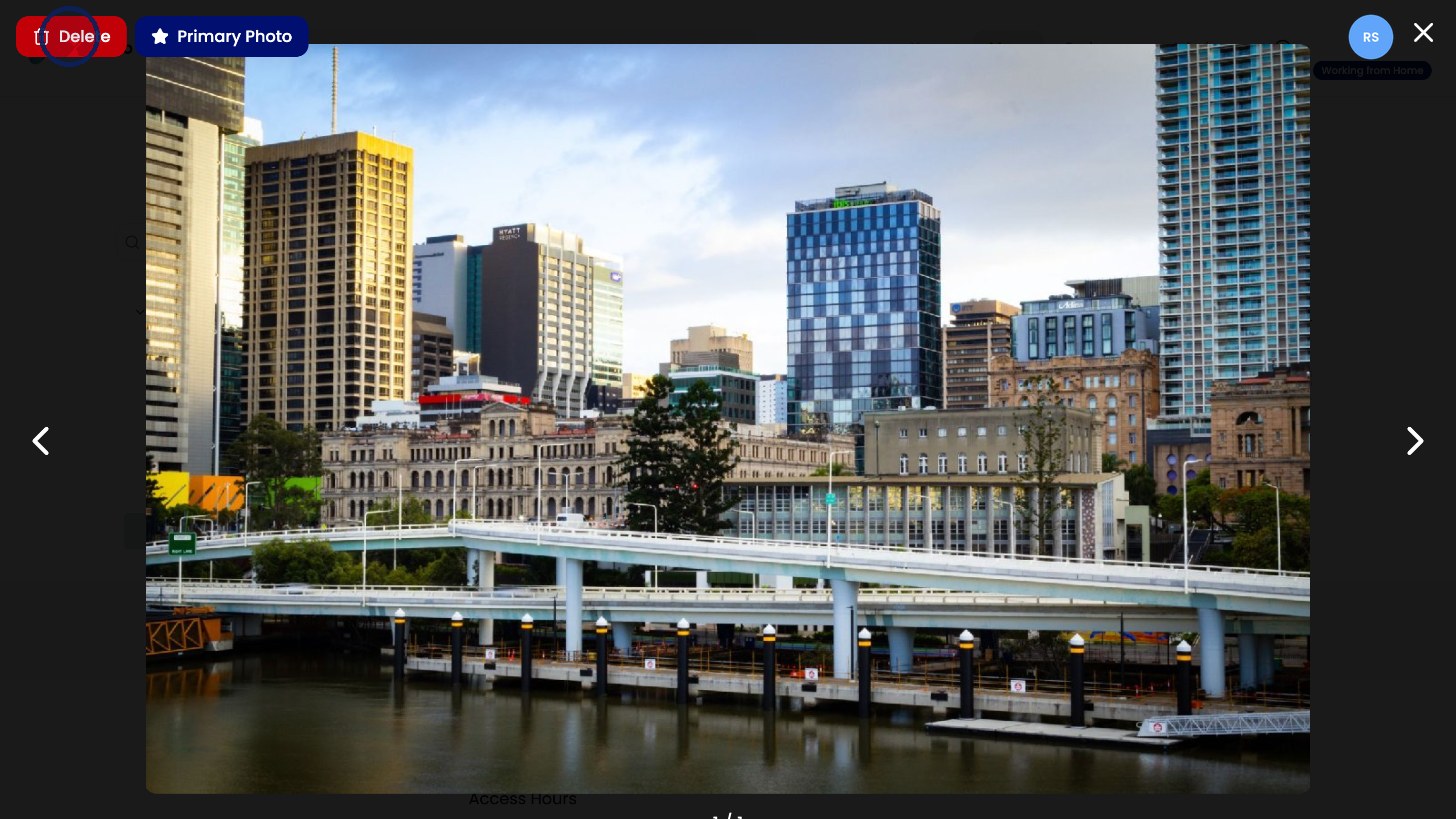
Click Delete in the gallery. 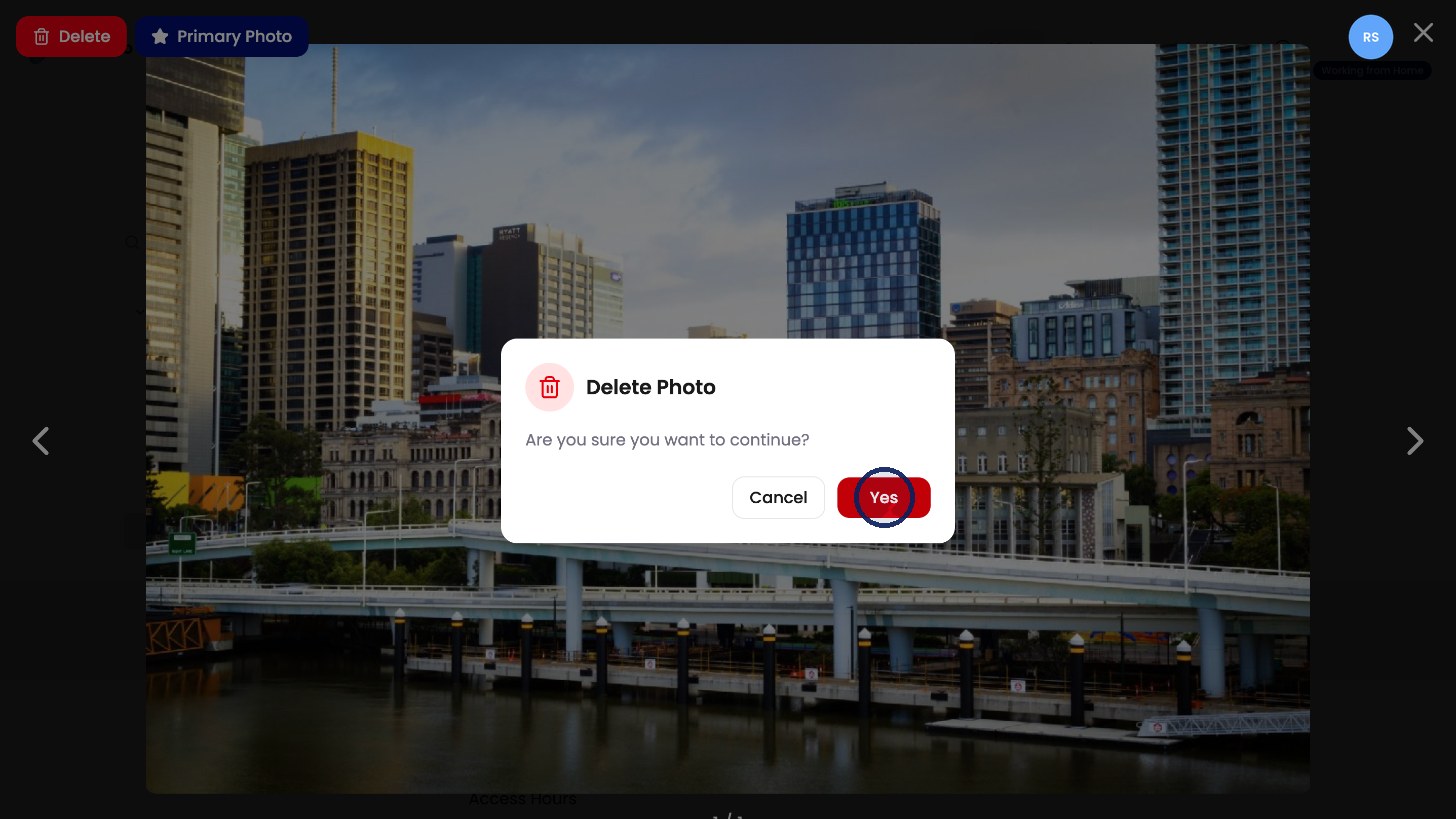
Click Yes to confirm.