
Want to tell people about a floor's kitchen, building access or parking? This article shows you how to add and edit the information on a level's page, and how to turn headings into tabs so people can jump straight to them.
Note: Changes you save are visible to everyone straight away.
Open the editor
-
Open the level from Maps.
-
At the top right of the level page, click the Edit Information icon (the document).
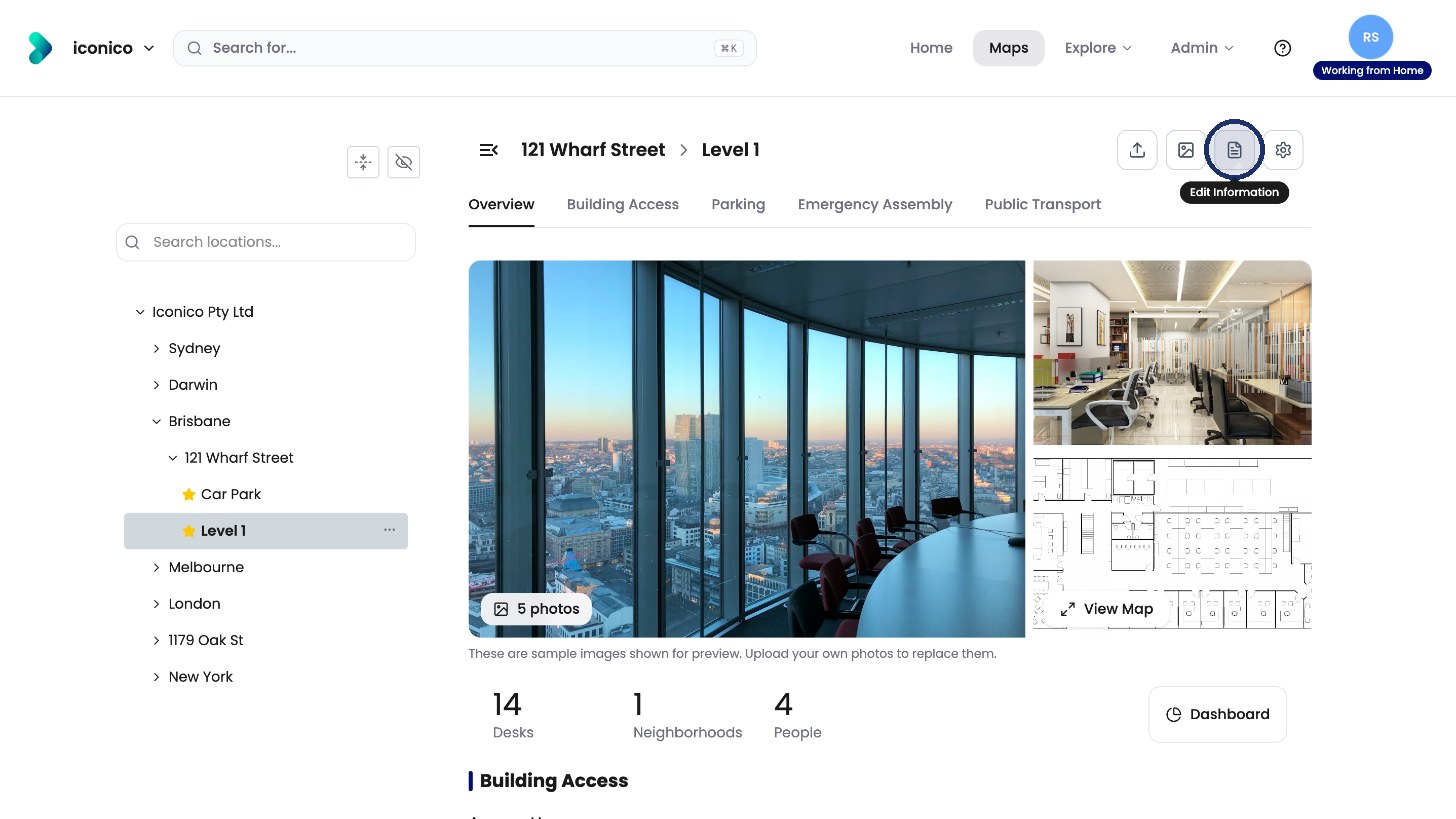
Click Edit Information at the top right of the level page.
The editor opens with everything people currently see on the level page.
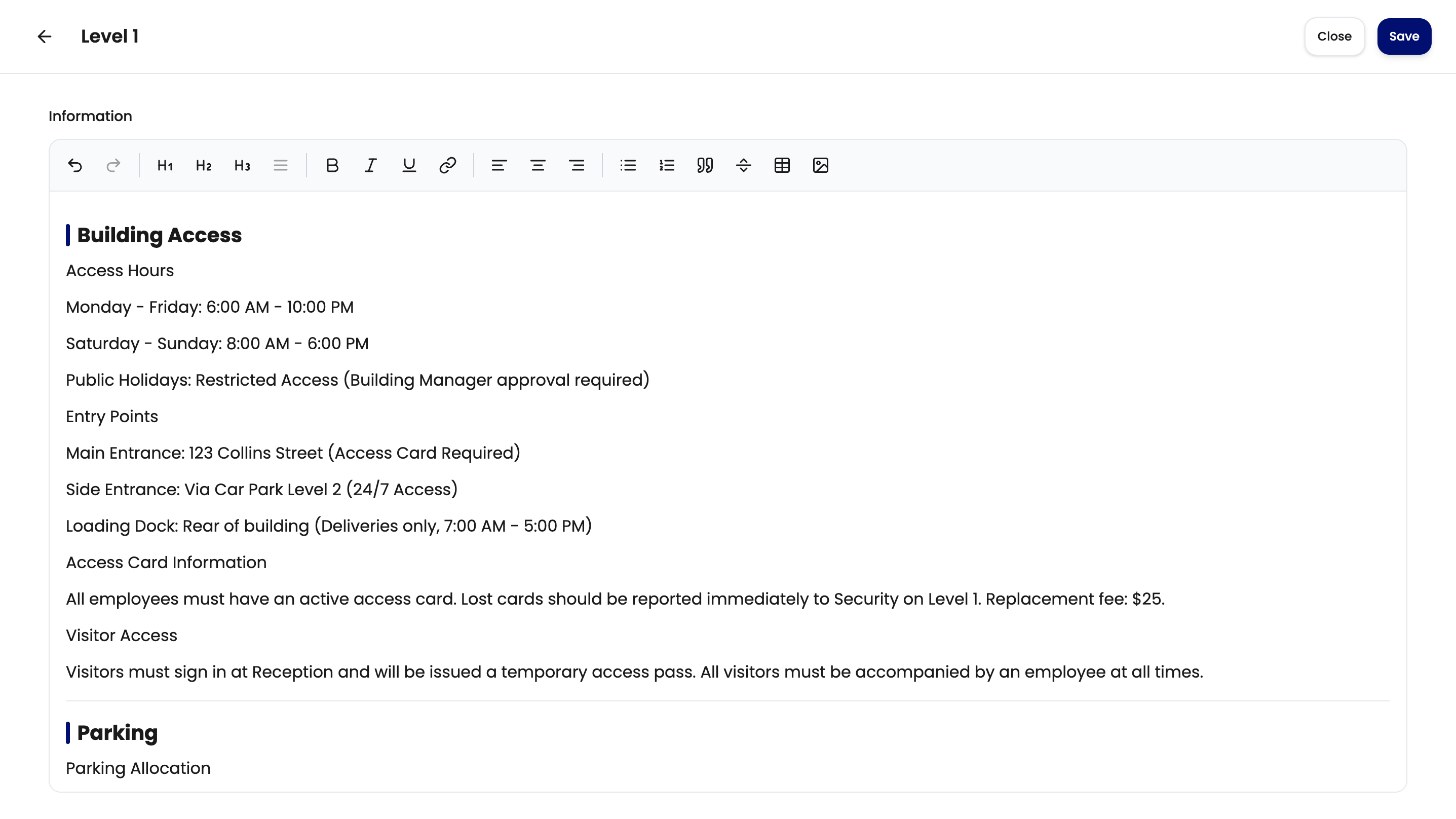
Add a new section
-
Scroll to where you want the new section and start a new line.
-
Choose a heading size from the toolbar, for example H2.
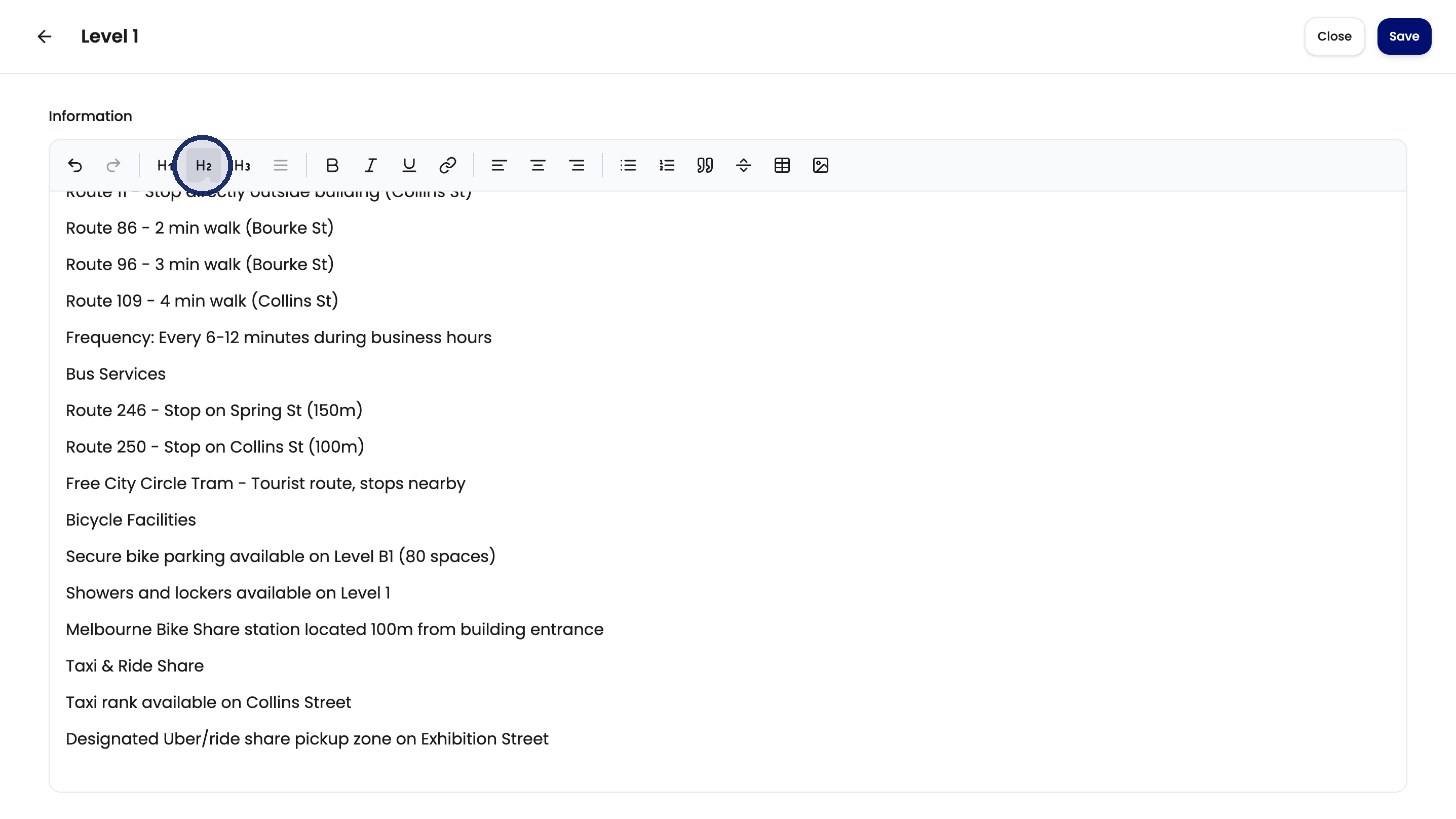
Choose a heading size from the toolbar. -
Type your heading, for example Kitchen.
-
Click Add section menu ID from heading text.
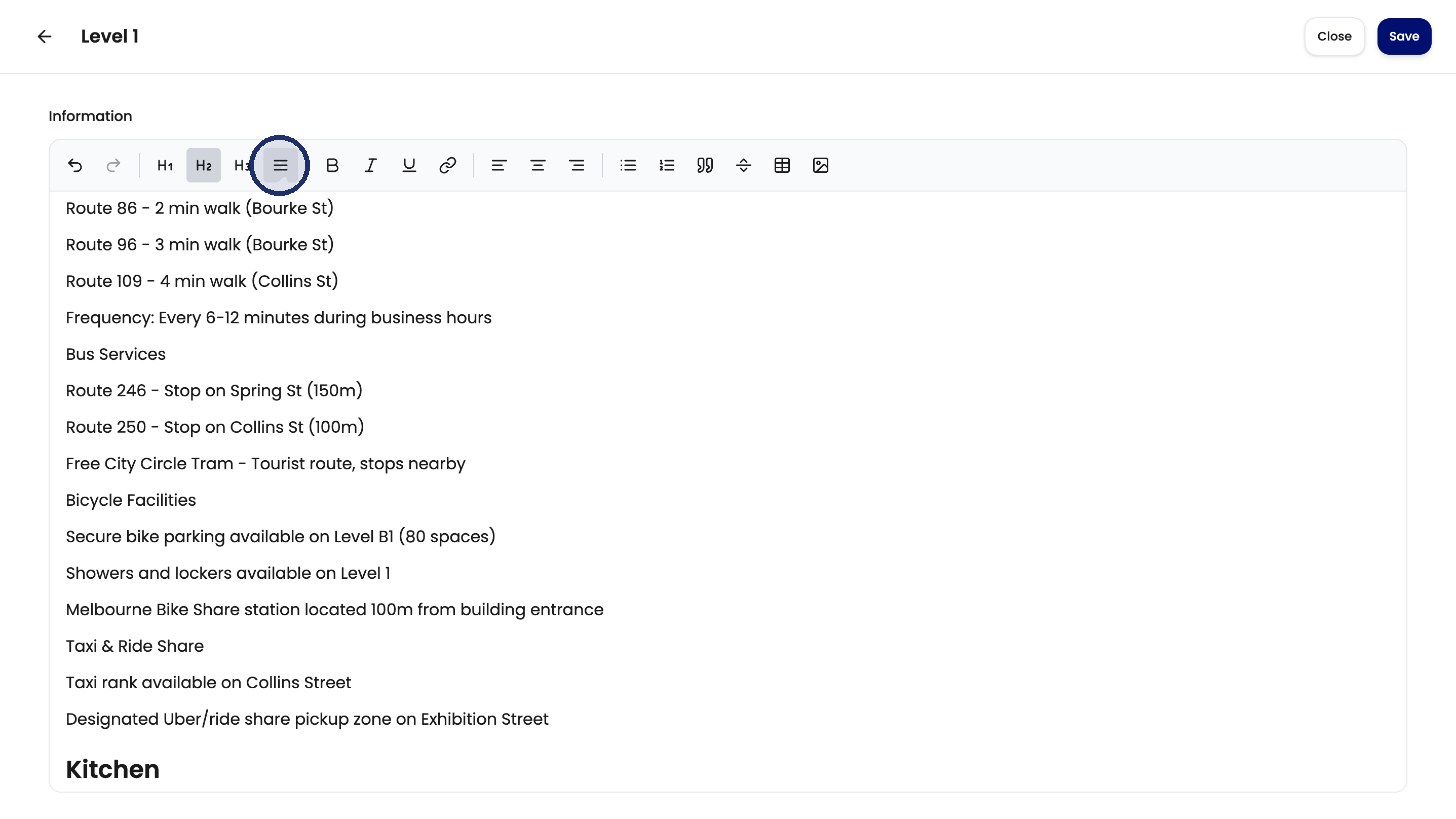
Add section menu ID turns the heading into a tab. A blue bar appears next to the heading. This means the heading will show as a quick-access tab on the level page.
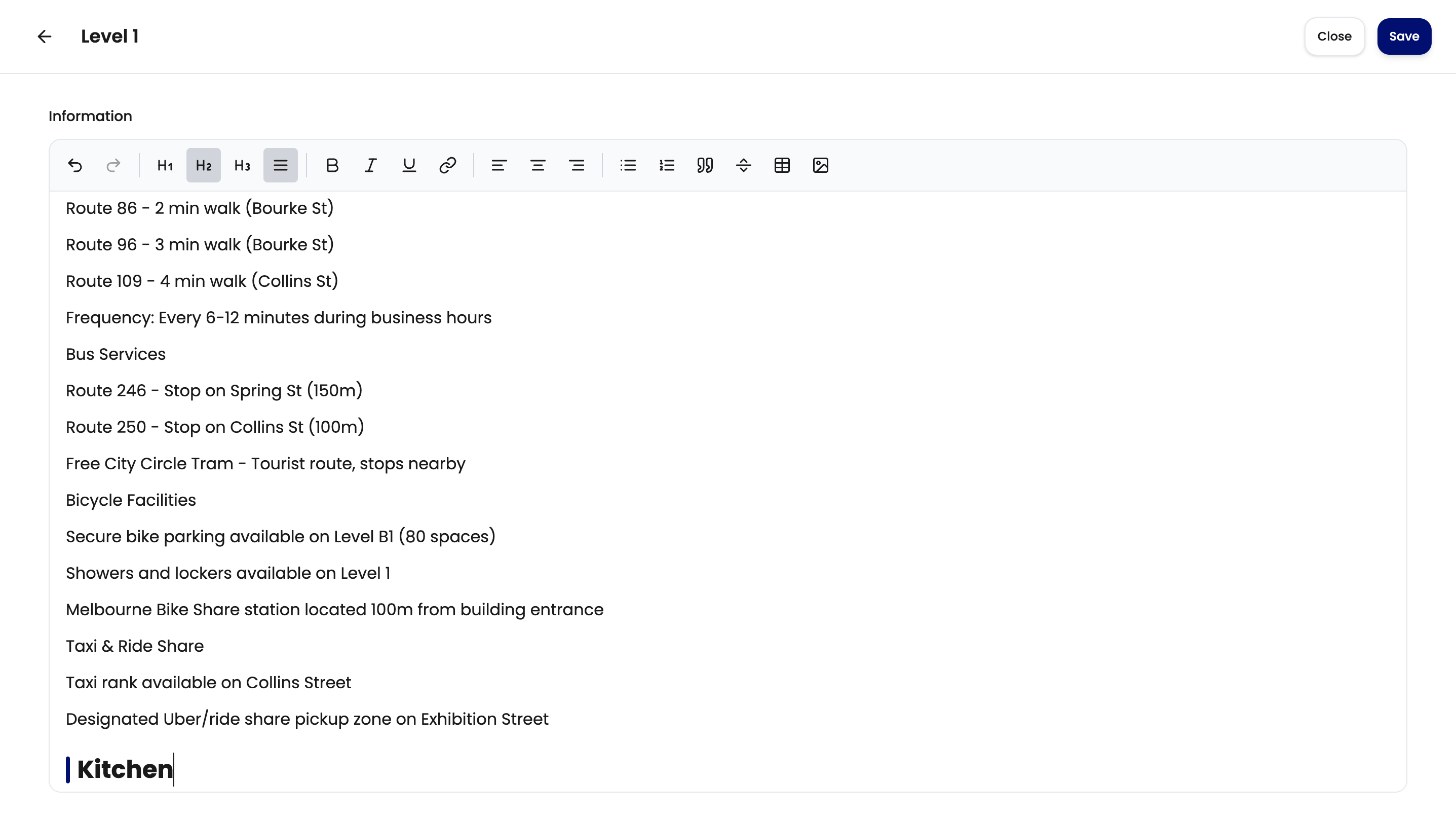
The blue bar marks a heading that shows as a tab. -
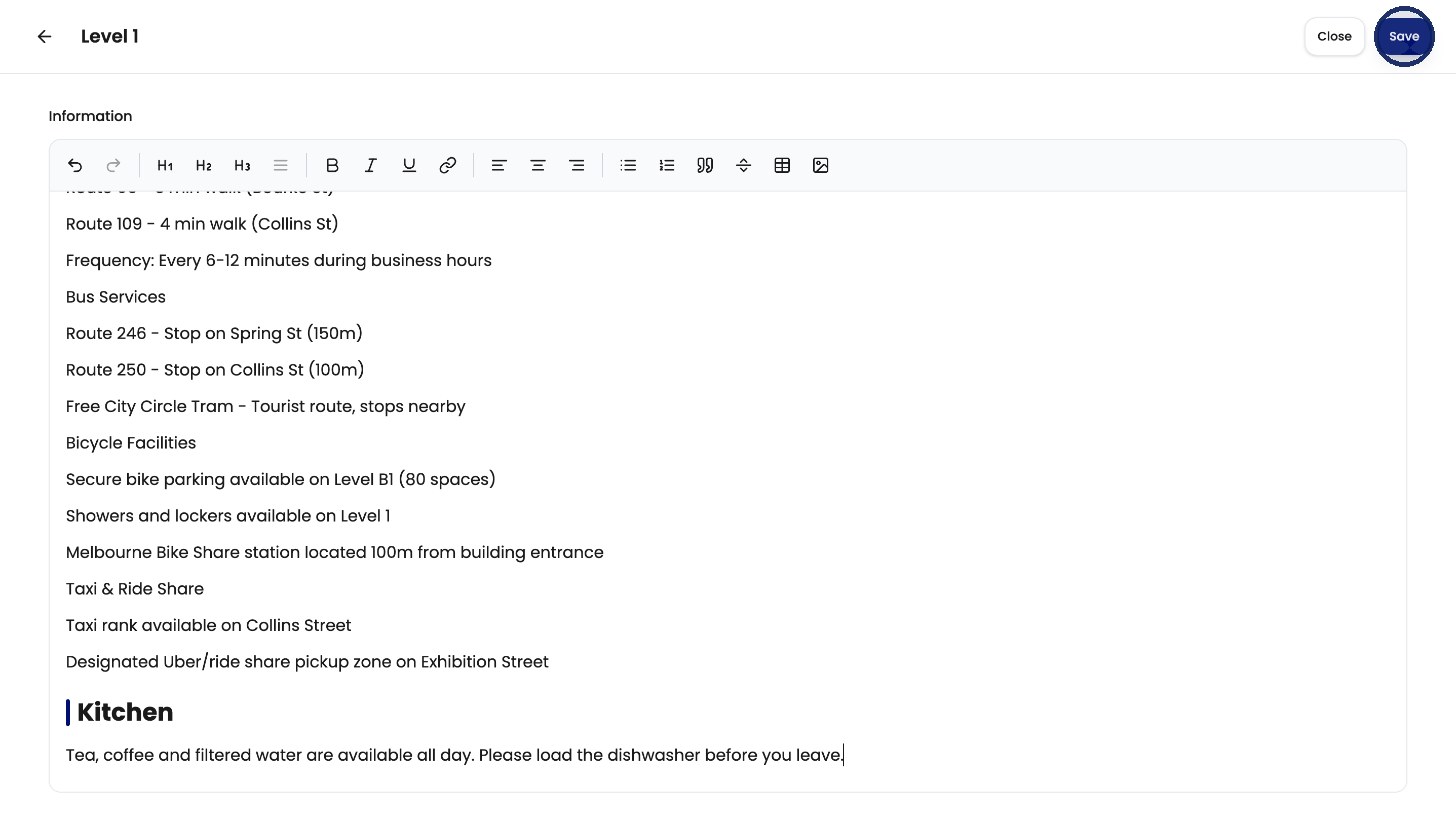
Type the details underneath the heading.
Save your changes
Click Save at the top right. To leave without saving, click Close.
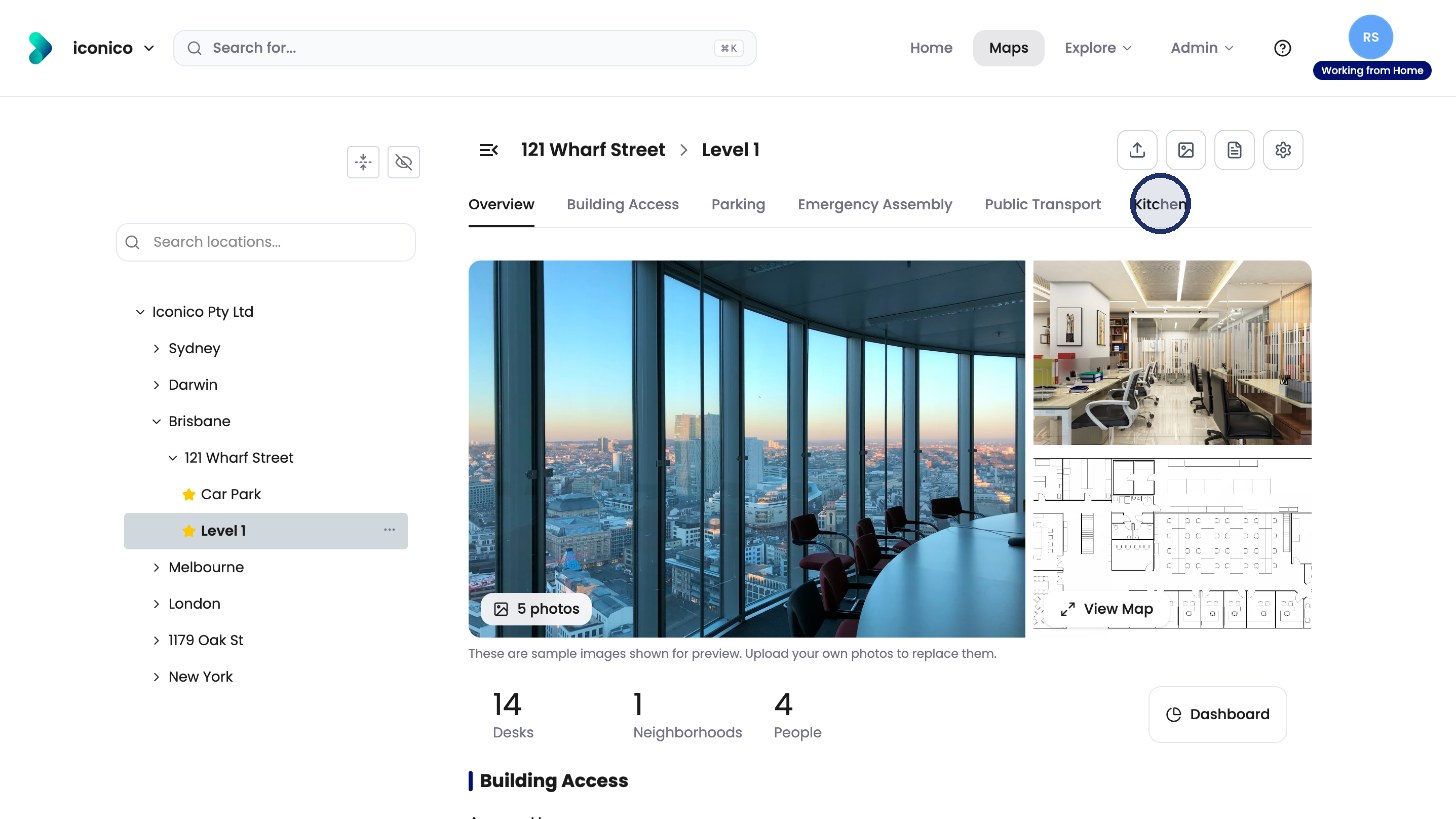
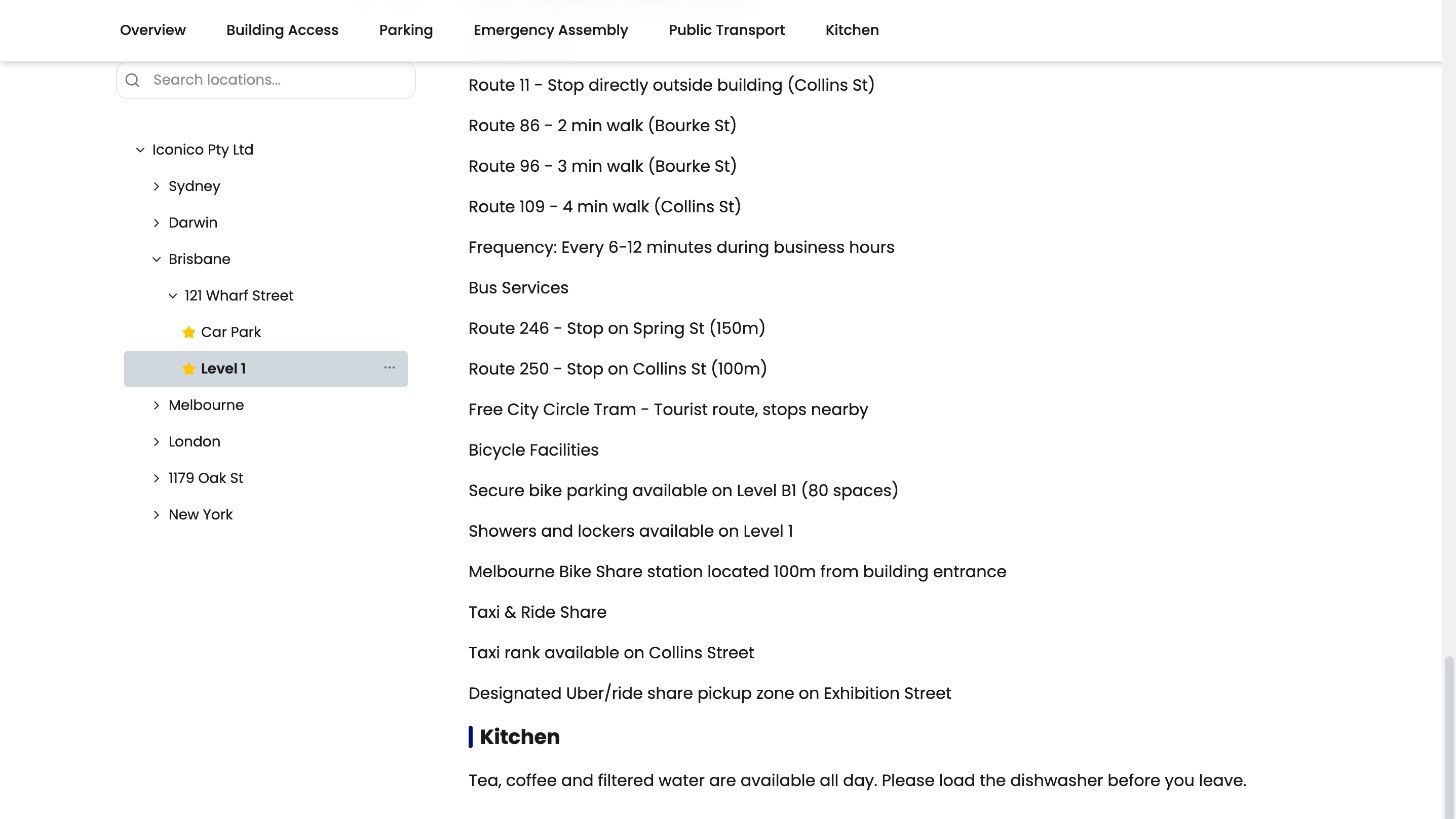
Your new tab appears at the top of the level page. Clicking it takes people straight to that section.
Tips
-
The toolbar also has bold, italic, underline, links, lists, quotes, tables and images.
-
Only headings with the blue bar become tabs. Other headings appear in the text but not at the top.