
Need to add a new office, building or floor? This article shows you how to set up the location tree on the Maps page and add your countries, cities, offices and levels.
Note: New locations are visible to everyone as soon as you add them. To keep a level out of sight while you set it up, see How do I hide or delete a location?
How the tree is organised
The tree runs from the widest area down to a single floor:
Country → Region → City → Site (office) → Level
You don’t have to use every layer. For example, if all your offices are in one country, you can leave out Country and Region.
1. Choose the layers you need
-
Click Admin, then Administration.
-
Under Settings, click Location Tree.
-
Under Tree Options, tick the layers you want to include: Include Country, Include Region, Include City and Include Site.
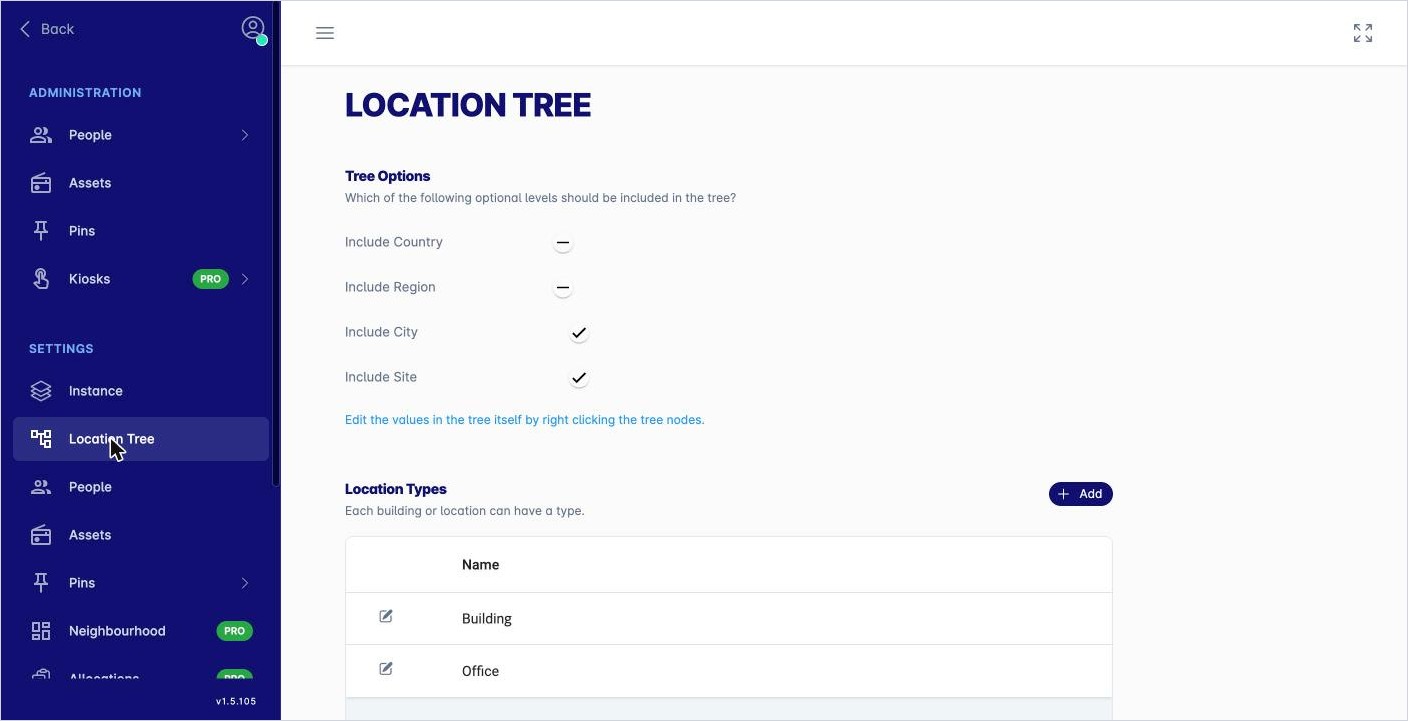
Tree Options and Location Types in Administration.
Levels are always included, so they don’t appear in this list.
2. Check your location types
Each site (office) can have a type, such as Building or Office. The types are listed under Location Types on the same page.
-
To add a type, click + Add.
-
To rename a type, click the pencil next to it.
3. Add locations to the tree
-
Click Maps in the top menu bar.
-
In the location tree, hover over the location you want to add to, then click … (More option).
-
Choose the add option. It changes with the layer you’re on:
Where you click …
What you can add
Your company name (the top of the tree)
Add Country
A country
Add Region
A region
Add City
A city
Add Site (an office)
A site
Add Floor (a level)
-
A name box appears in the tree. Type the name and press Enter. To cancel, press Esc.
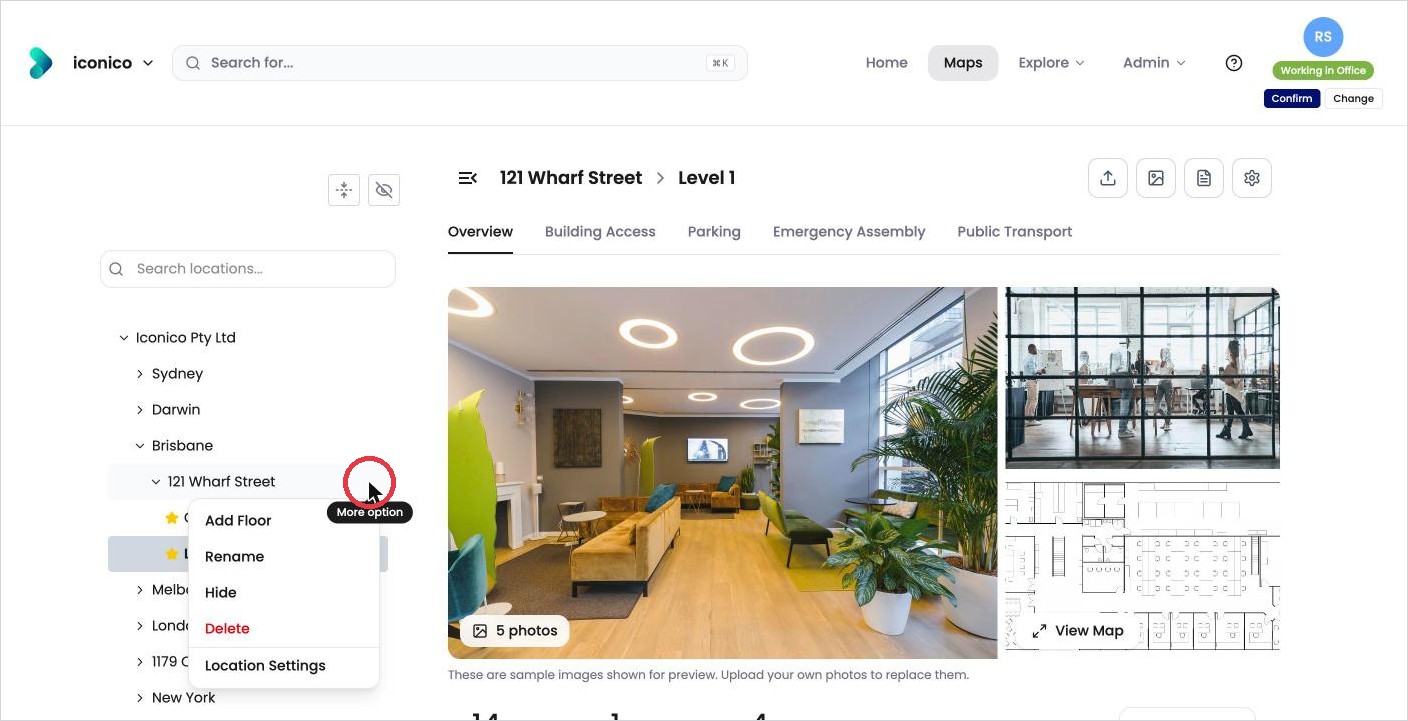
The … menu on an office, with Add Floor at the top. 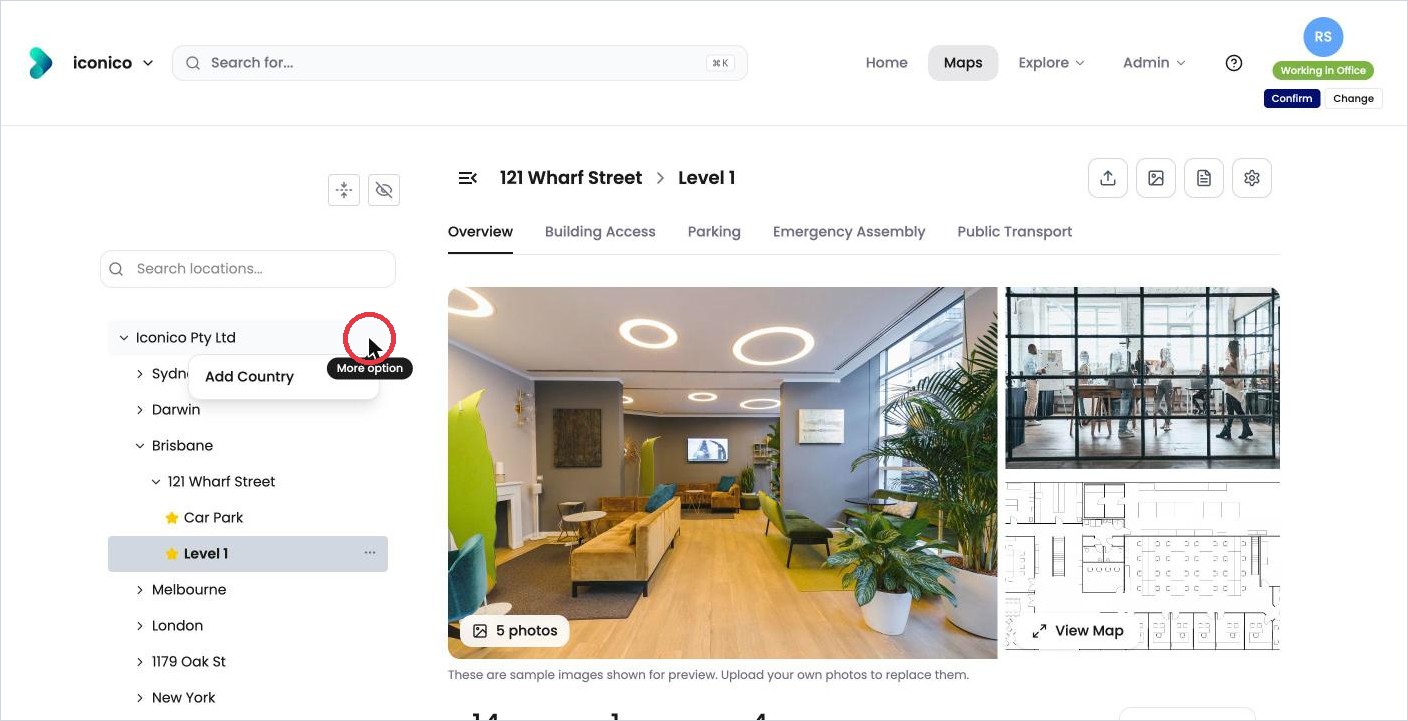
At the top of the tree, the menu offers Add Country. 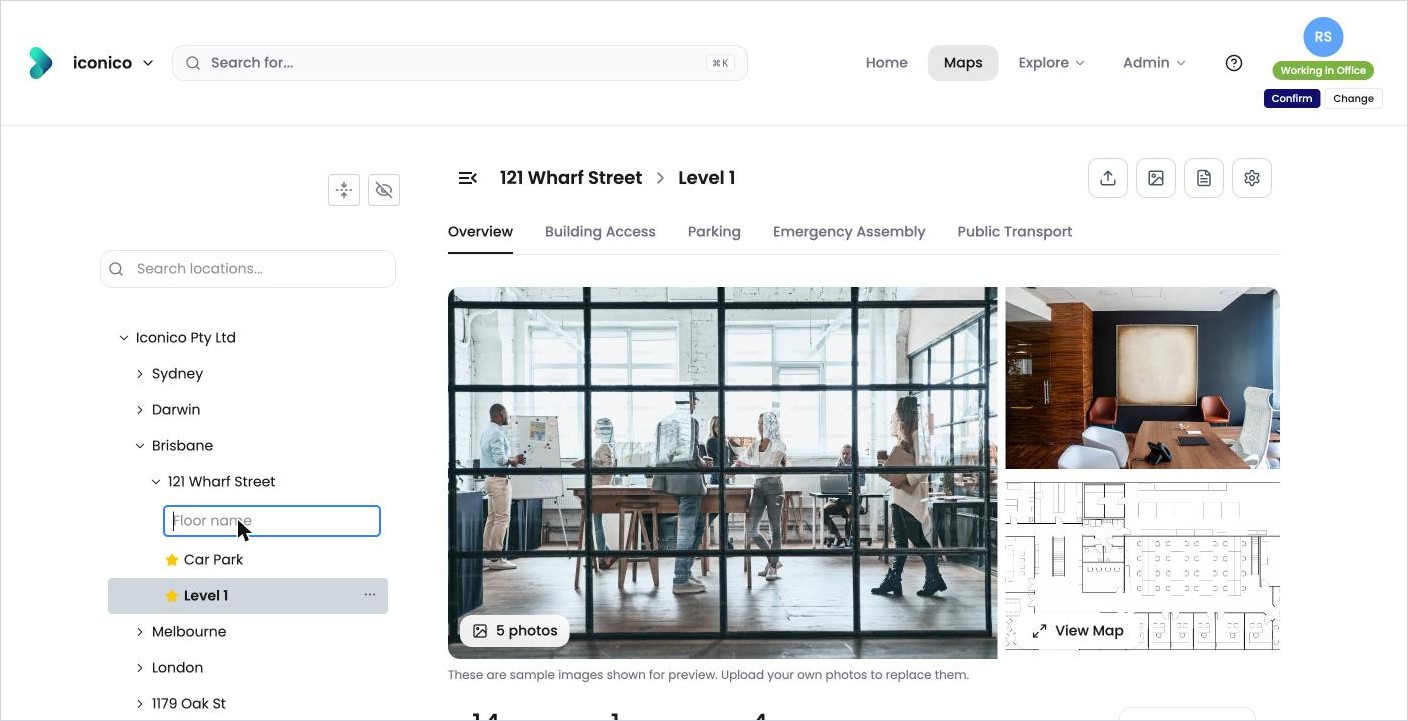
After Add Floor, type the new level’s name straight into the tree.
Tip: The same menu also has Rename, Hide, Delete and Location Settings.
4. Fill in each location’s settings
Click … on a location, then Location Settings, to add its details. Each layer has its own fields:
|
Layer |
Settings you can fill in |
|---|---|
|
City |
Region, code, name, latitude and longitude (or Set on map), zoom level, visible, sort order |
|
Site (office) |
City, location type, code, name, latitude and longitude (or Set on map), zoom level, address lines 1 to 4, visible, sort order |
|
Level |
Site, code, name, floorplan opacity, map zoom, visible, sort order |
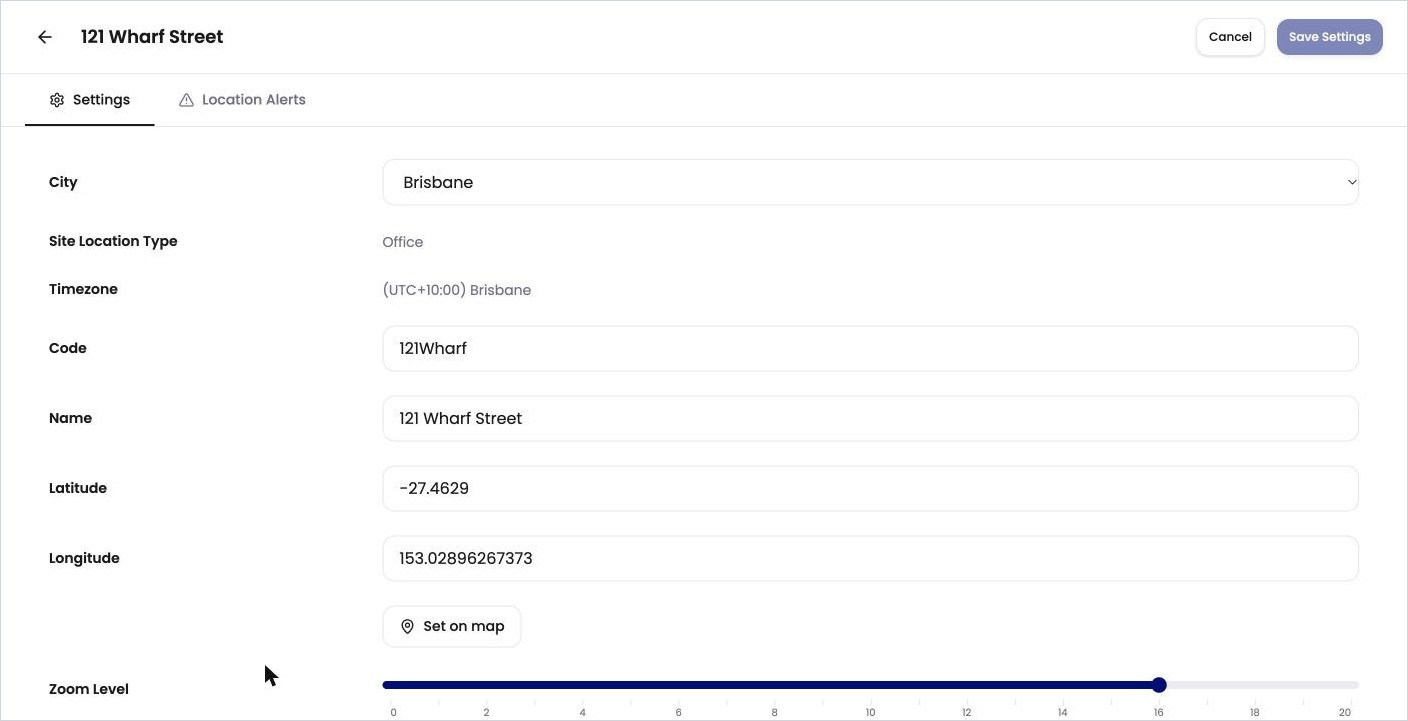
The time zone comes from the location above and can’t be changed here. Click Save Settings when you’re done.
For more on level settings, see How do I change a level's settings?
Next step
Upload a floorplan for each level. See How do I upload a floorplan?
Tips
-
Use the Search locations… box above the tree to find a location quickly.
-
Click Expand all (the arrows icon above the tree) to open every branch at once.
-
Use Sort Order to control the order locations appear in. Lower numbers come first.