
Got a new floor, or a floorplan that has changed? This article shows you how to upload a floorplan image to a level, replace an existing one, and what makes a good floorplan.
Note: If the level doesn’t exist yet, add it first. See How do I add a new office or level?
Before you start
Your floorplan file must be:
-
a JPG, PNG or PDF
-
at least 1024 × 1024 pixels
-
no bigger than 10 MB
A clean, high-contrast plan works best: walls and desk outlines that are easy to see, and not much text. Desks, rooms and labels are added in OfficeMaps afterwards, so they don’t need to be on the image.
Upload the floorplan
-
Click Maps and open the level.
-
Click Upload Map (the arrow pointing up) at the top right of the level page.
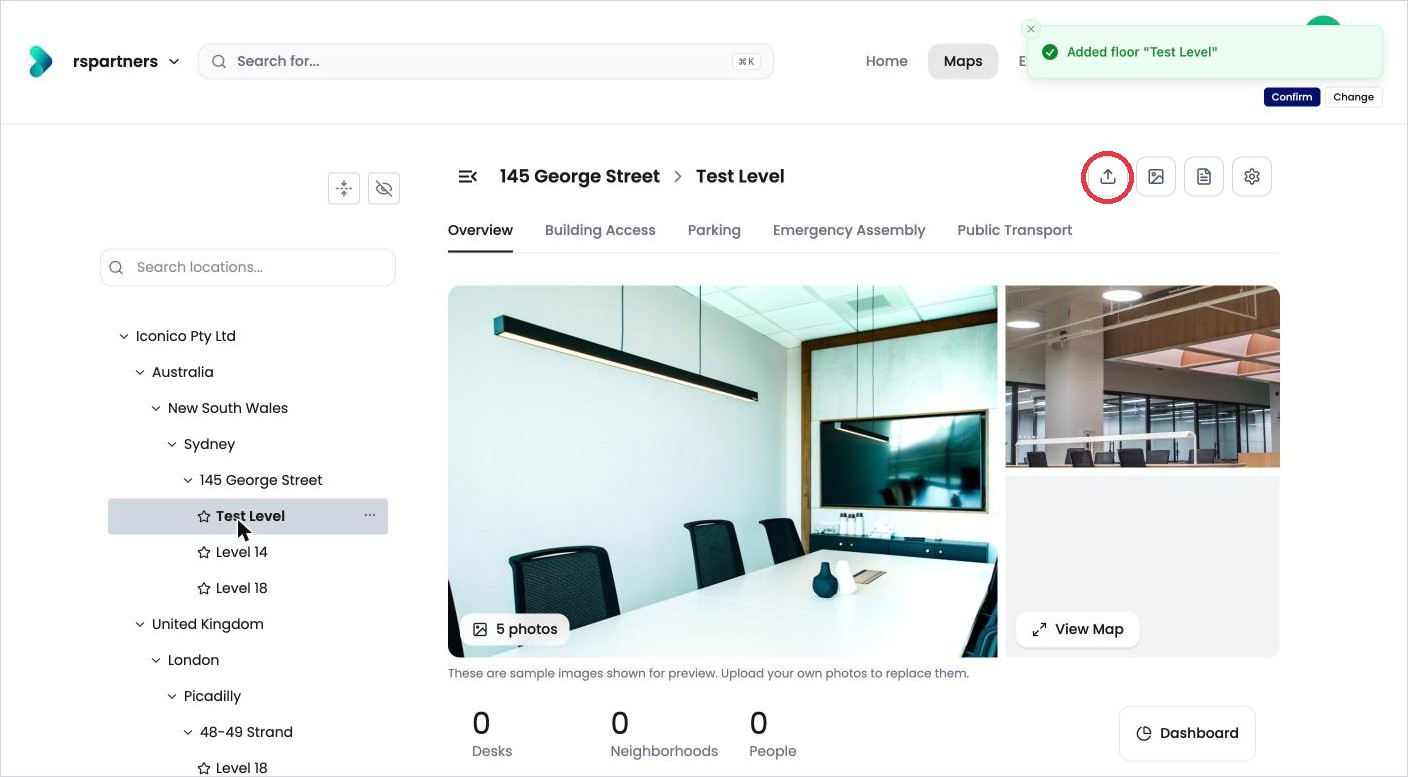
Click Upload Map on the level page. -
Click Upload and choose your file, or drag the file onto the circle.
-
Check the file name under Selected, then click Upload Map.
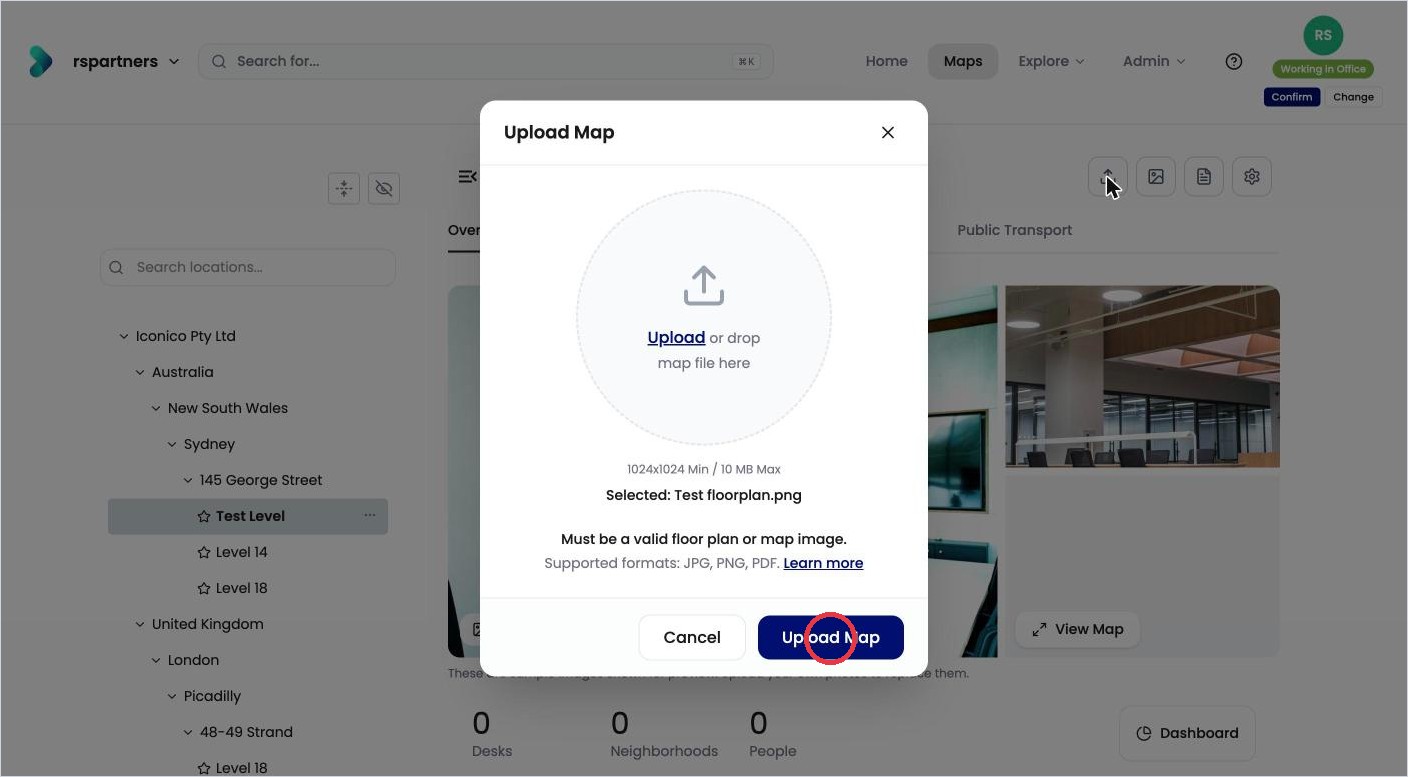
The file is selected and ready to upload. OfficeMaps shows Map uploaded. and a preview of the floorplan appears beside the level’s photos.
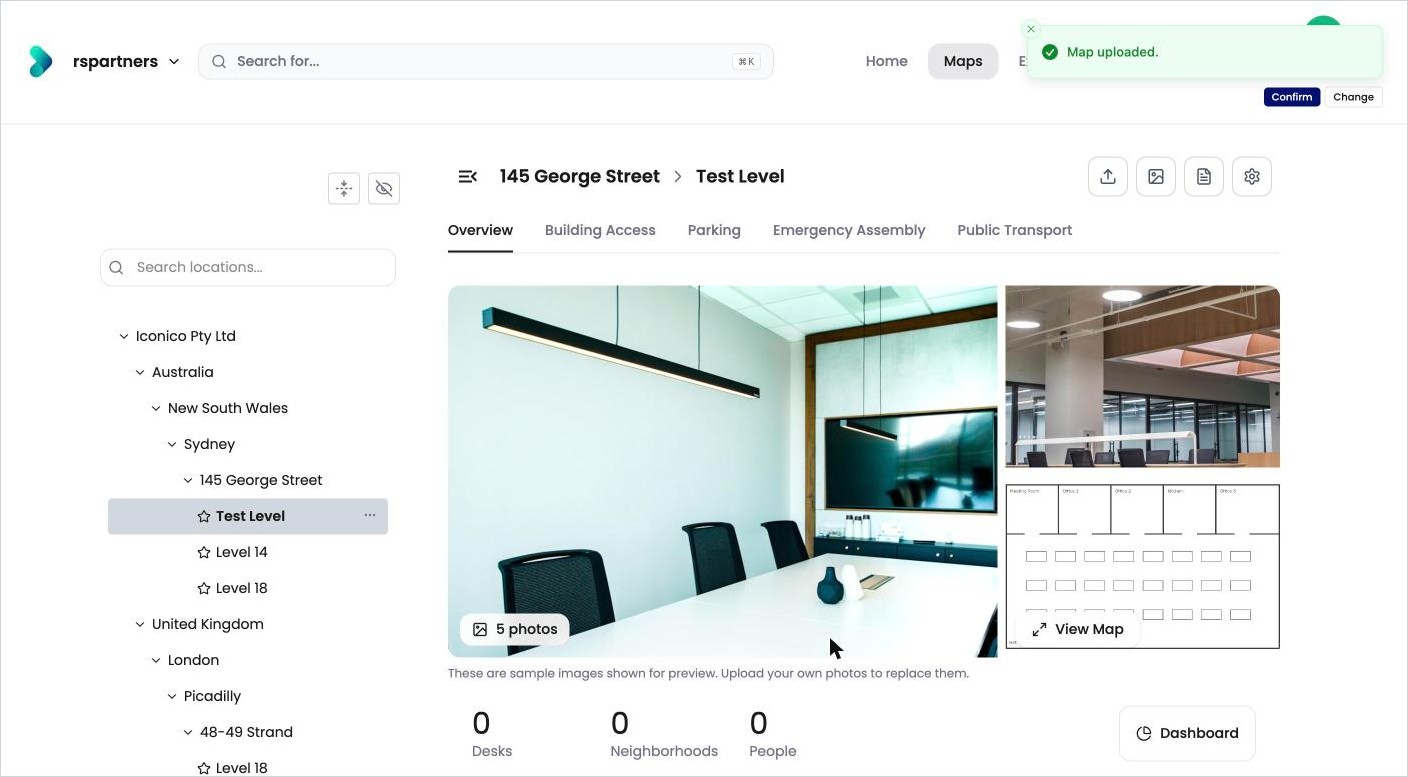
The new floorplan in the level’s preview. -
Click View Map to open it.
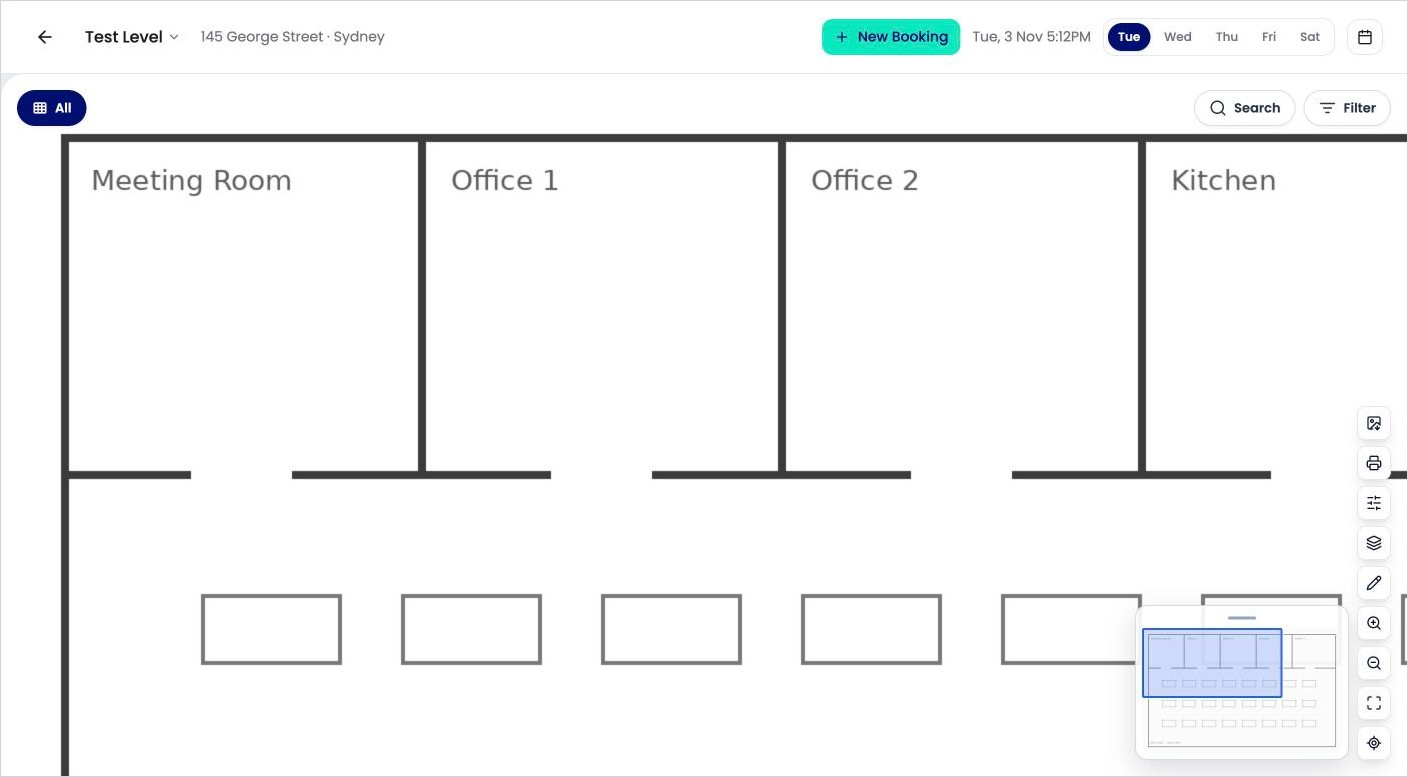
The uploaded floorplan, ready for desks and rooms.
Replace a floorplan
To use a newer plan, click Upload Map again and upload the new file.
Next step
Add desks, rooms and pins to the floorplan. See How do I add desks and pins to the map?
Tips
-
Use Opacity and Map Zoom (%) in the level’s settings to fade the plan behind your desks or change how far it’s zoomed when it opens. See How do I change a level's settings?
-
Crop out title blocks and wide margins before you upload, so the plan fills the screen.