
Need a new kind of bookable item, like a standing desk or a car park? This article shows you how to create and change asset types, which set the icon, how it looks on the map and whether people can check in to it or reserve it.
Note: Changes to an asset type apply to every asset of that type, on every floorplan.
Open asset types
-
Click Admin, then Administration.
-
Under Settings, click Assets.
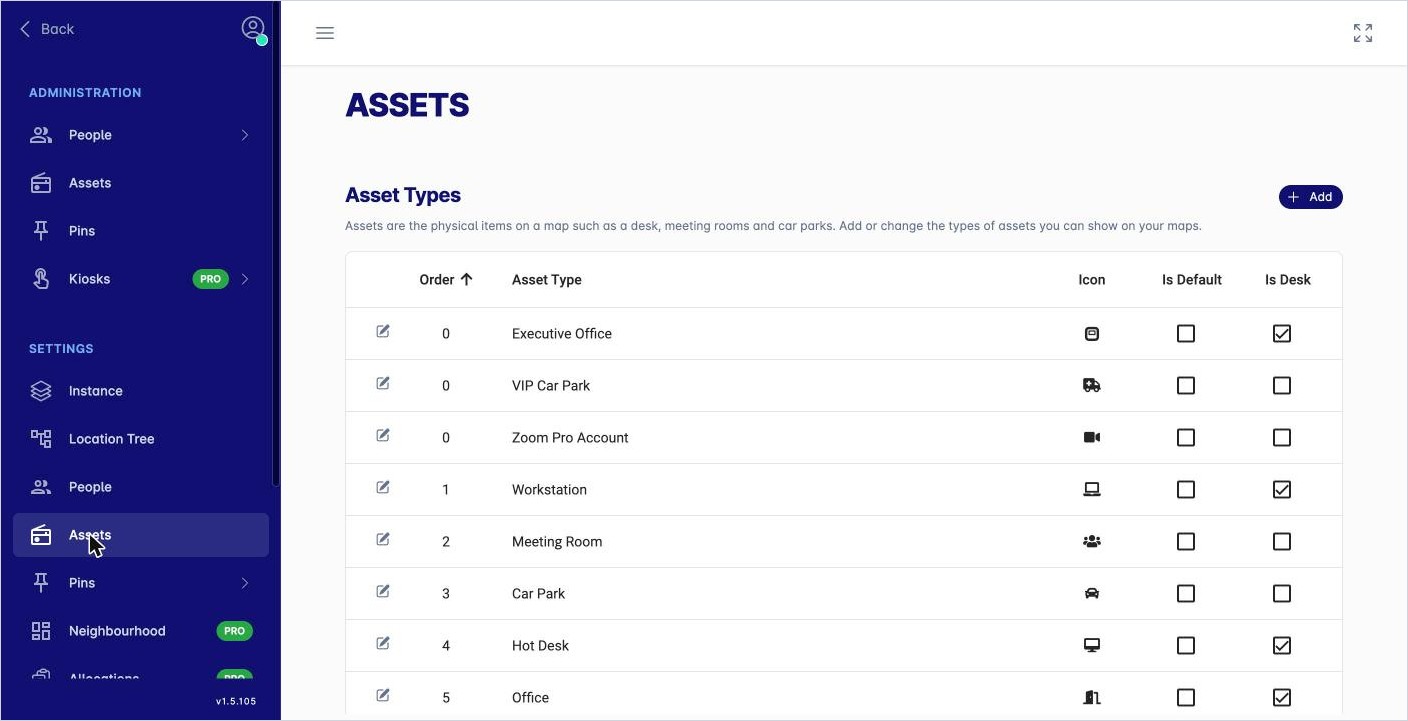
The Asset Types list shows each type with its order, icon, and whether it’s the default type and whether it counts as a desk.
Add an asset type
-
Click + Add. The New Asset Type panel opens.
-
Fill in the settings (see the table below).
-
Click the save icon (the disk) at the top of the panel.
Change an asset type
Click the pencil next to the type. Its settings open in a panel on the right.
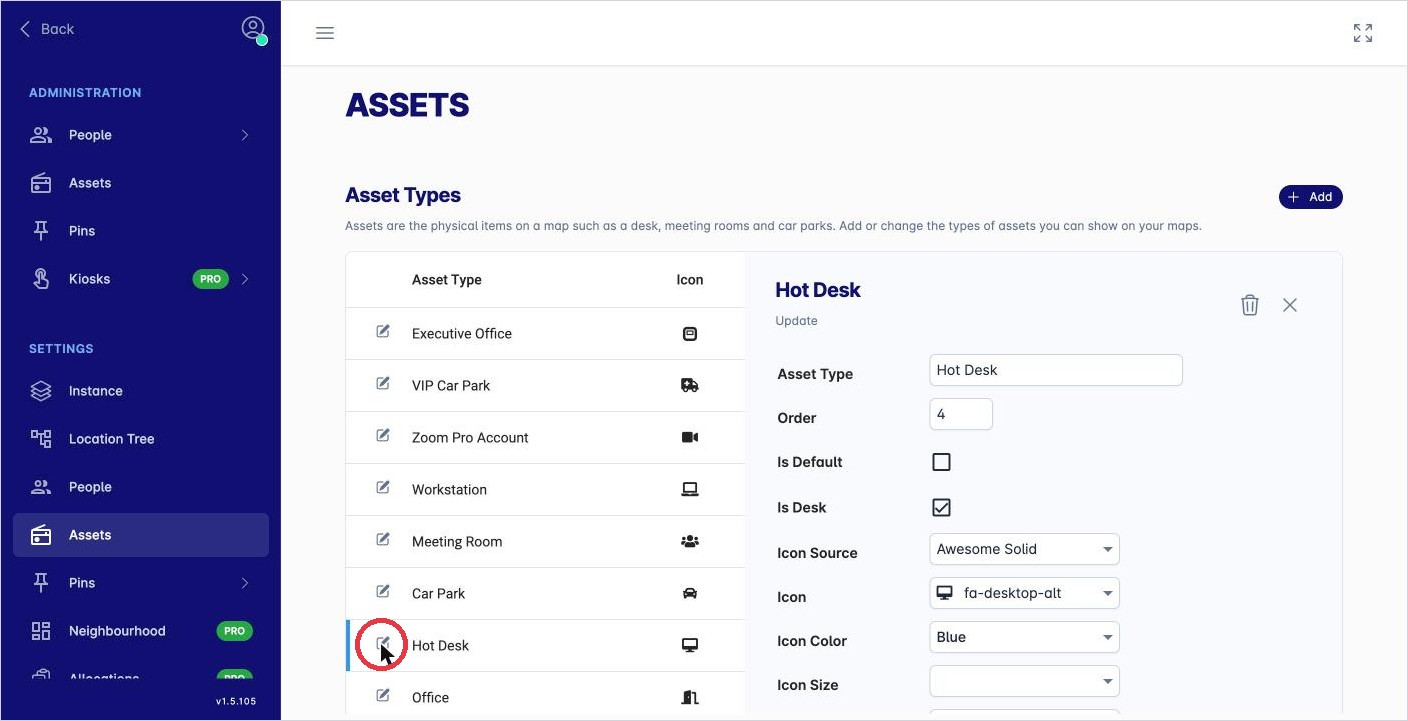
To close the panel, click X.
What each setting does
|
Setting |
What it does |
|---|---|
|
Asset Type |
The type’s name, for example Hot Desk. |
|
Order |
Where the type appears in lists. Lower numbers come first. |
|
Is Default |
Marks this as the default asset type. |
|
Is Desk |
Counts assets of this type as desks in dashboards and reports. |
|
Icon Source, Icon, Icon Color, Icon Size, Icon Rotate |
The icon shown on the map, and its colour, size and angle. |
|
Badge display mode |
How much detail the asset’s label shows on the map. |
|
Asset title font size, Person text font size |
The size of the asset name and of the allocated person’s name on the map. |
|
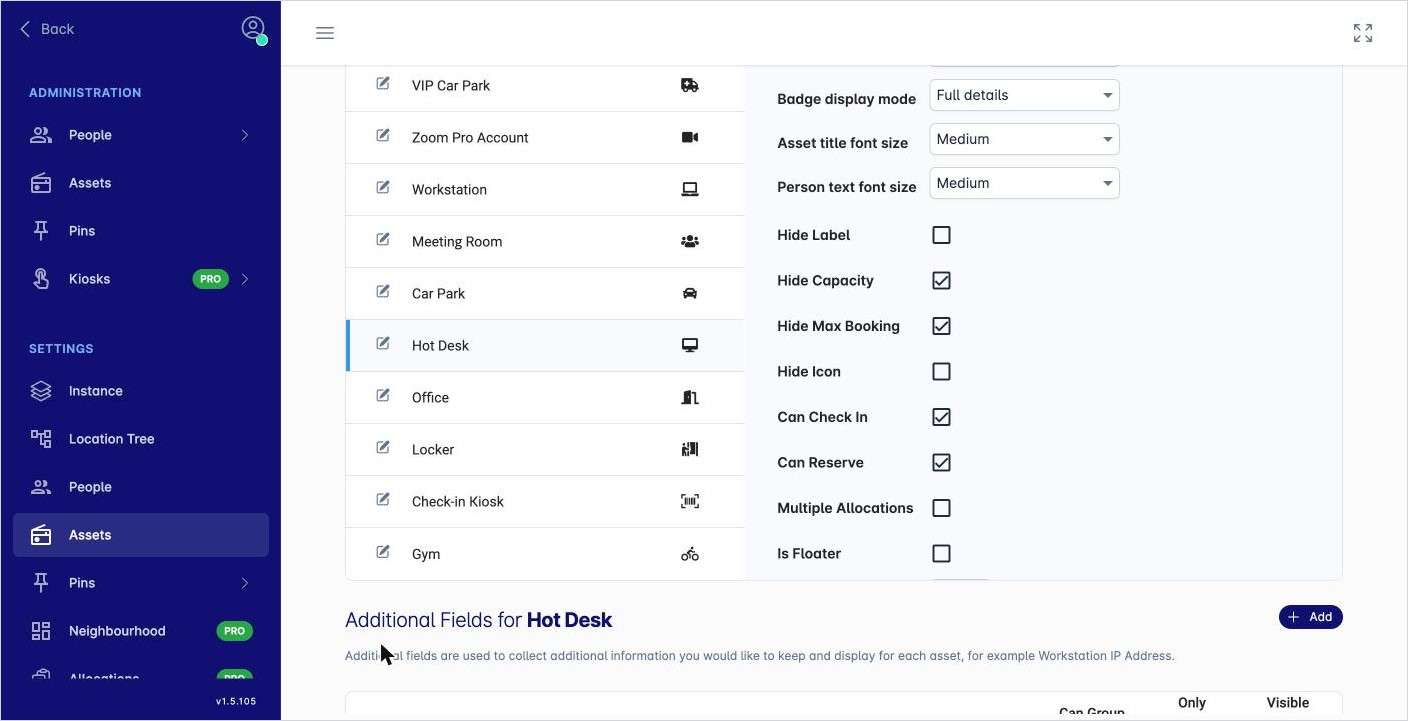
Hide Label, Hide Capacity, Hide Max Booking, Hide Icon |
Hide these details on the map. |
|
Can Check In |
Lets people check in to assets of this type. |
|
Can Reserve |
Lets people book assets of this type for a future day. |
|
Multiple Allocations |
Lets more than one person be allocated to the same asset. |
|
Is Floater |
Marks assets of this type as floaters. |
|
Max Booking Time (Hrs) |
The longest booking allowed for this type, in hours. |
|
Periods Available |
The check-in lengths people can choose, such as 2 hrs, 4 hrs or Today. |
Add extra fields to an asset type
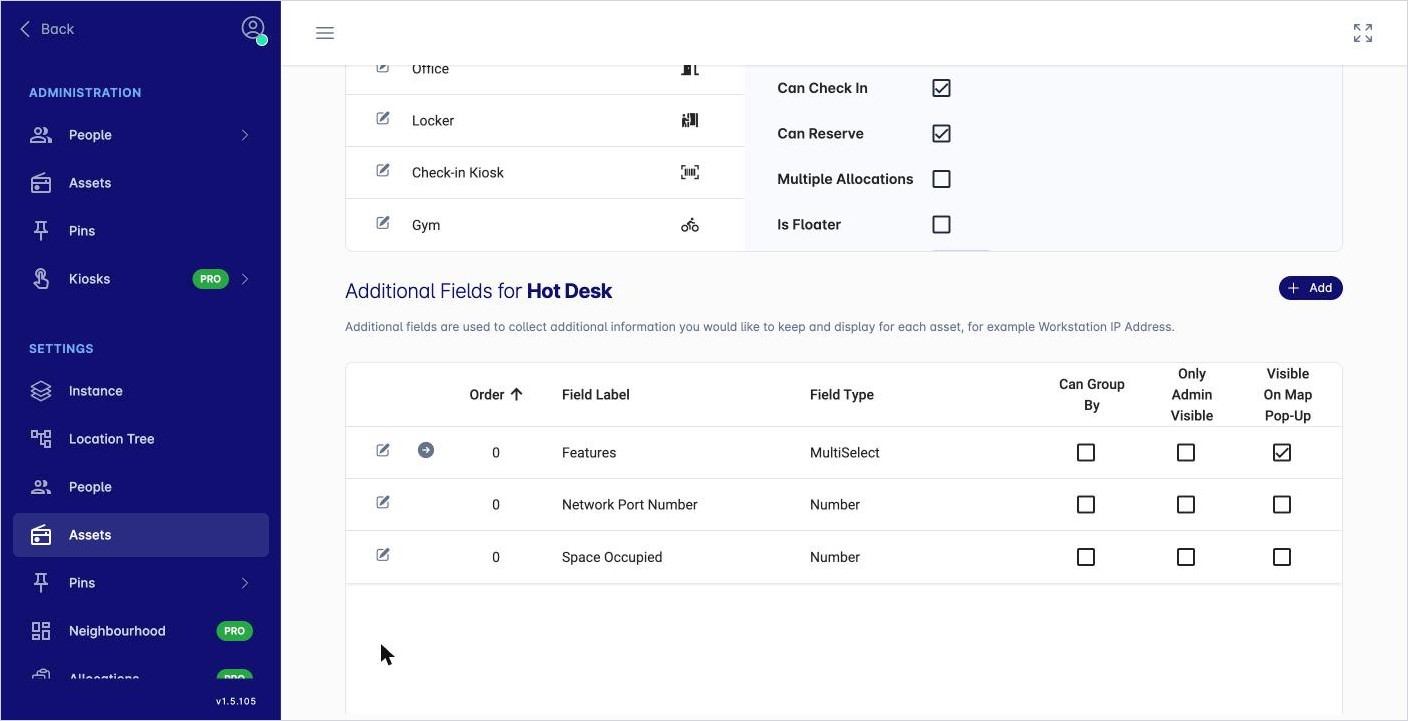
Extra fields hold more information about each asset, such as a network port number or a list of features.
-
Select the asset type.
-
Scroll down to Additional Fields for type name.
-
Click + Add and fill in the field label and type.
For each field you can choose:
-
Can Group By: lets reports group assets by this field.
-
Only Admin Visible: hides the field from everyone except administrators.
-
Visible On Map Pop-Up: shows the field in the panel that opens when someone clicks the asset on the map.
You then fill in the values for each asset on its details page. Click the asset on the map, then View Details, then Edit.
Delete an asset type
-
Click the pencil next to the type.
-
Click the bin icon at the top of the panel.