
Need to add or update lots of people at once? This article shows you how to use the Excel templates to import people, seat them on desks and set their workday plans, and how to export everyone to a spreadsheet.
Note: Uploads change live data straight away. Try a file with one or two rows first.
Open People Actions
-
Click Admin, then Administration.
-
Under Administration, click People, then People Actions.
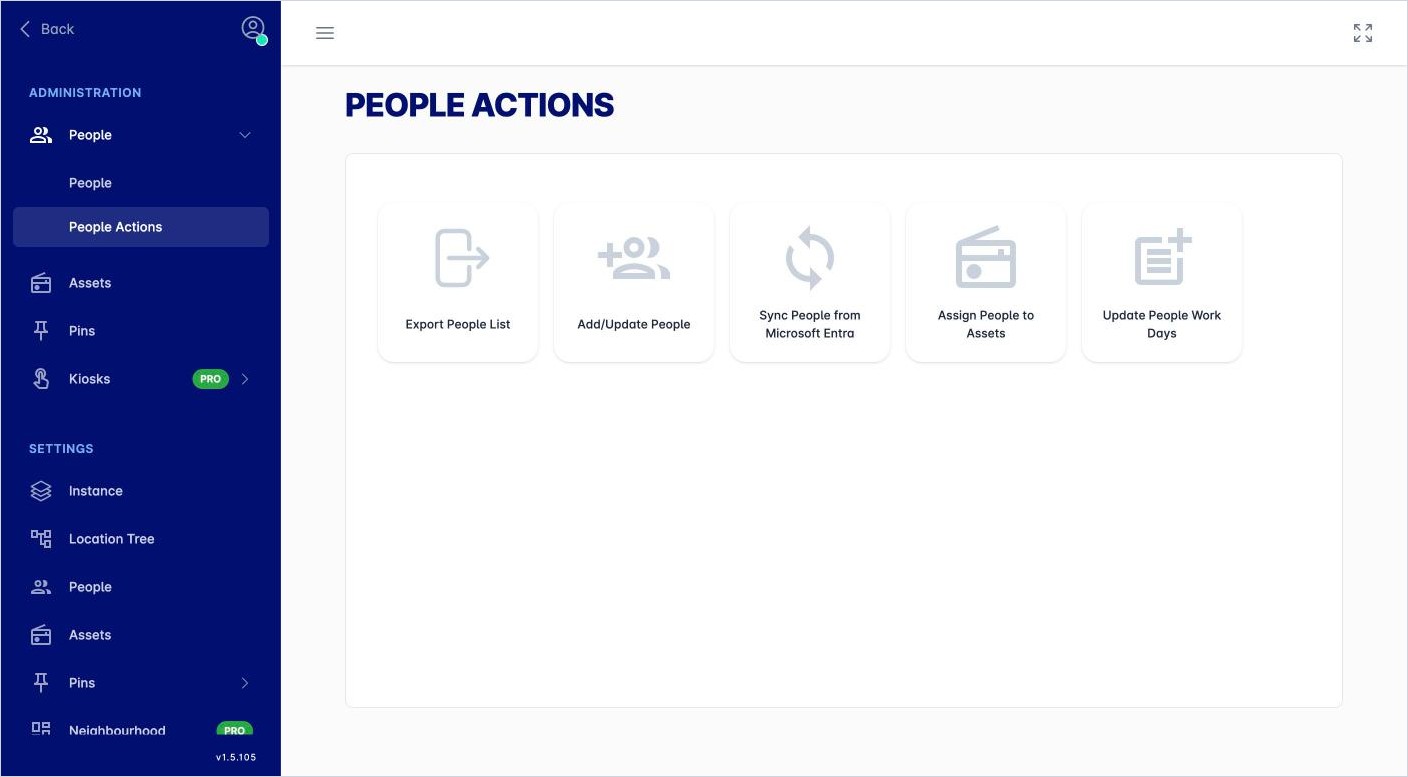
People Actions.
|
Action |
What it does |
|---|---|
|
Export People List |
Downloads everyone in OfficeMaps as a spreadsheet. |
|
Add/Update People |
Adds new people and updates existing people from a file. |
|
Sync People from Microsoft Entra |
Runs an Entra sync now. See How do I sync people from Microsoft Entra (Azure AD)? |
|
Assign People to Assets |
Seats people on desks, or clears desks, from a file. |
|
Update People Work Days |
Sets people’s two-week workday plans from a file. |
Each upload action opens a panel with Download Template and Select File. You can upload .xlsx, .xls or .csv files.
Add or update people
-
Click Add/Update People, then Download Template.
-
Fill in one row per person. The columns are:
Column
What to put in it
PersonId
Leave blank for new people. OfficeMaps’ own ID for an existing person.
Username, Email
How OfficeMaps identifies the person. These can’t be changed by an update.
FirstName, LastName, DisplayName, Initials
The person’s name as it appears in OfficeMaps.
Position, Title
Their job title, and an optional title such as Dr.
Phone, PhoneExt, Cell, HomePhone
Phone numbers shown on their profile.
ProfileBlurb, WebPage
Profile description and a web link.
Facebook_Profile, Twitter_Profile, LinkedIn_Profile, Skype_Name
Social and Teams links on their profile.
BadgeNumber, EmployeeId
Optional reference numbers.
TimeZone
Their time zone, if it’s not the default.
IsAllowOTPLogin
TRUE lets them use a one-time password, even if Microsoft or Google log in is required.
IsExcludeFromStatusNotifications
TRUE stops status confirmation prompts and reminder emails.
IsHiddenFromUsers
TRUE hides them from everyone except administrators.
-
Click Select File and choose your file.
-
Check the file name under Selected File, then click Upload.
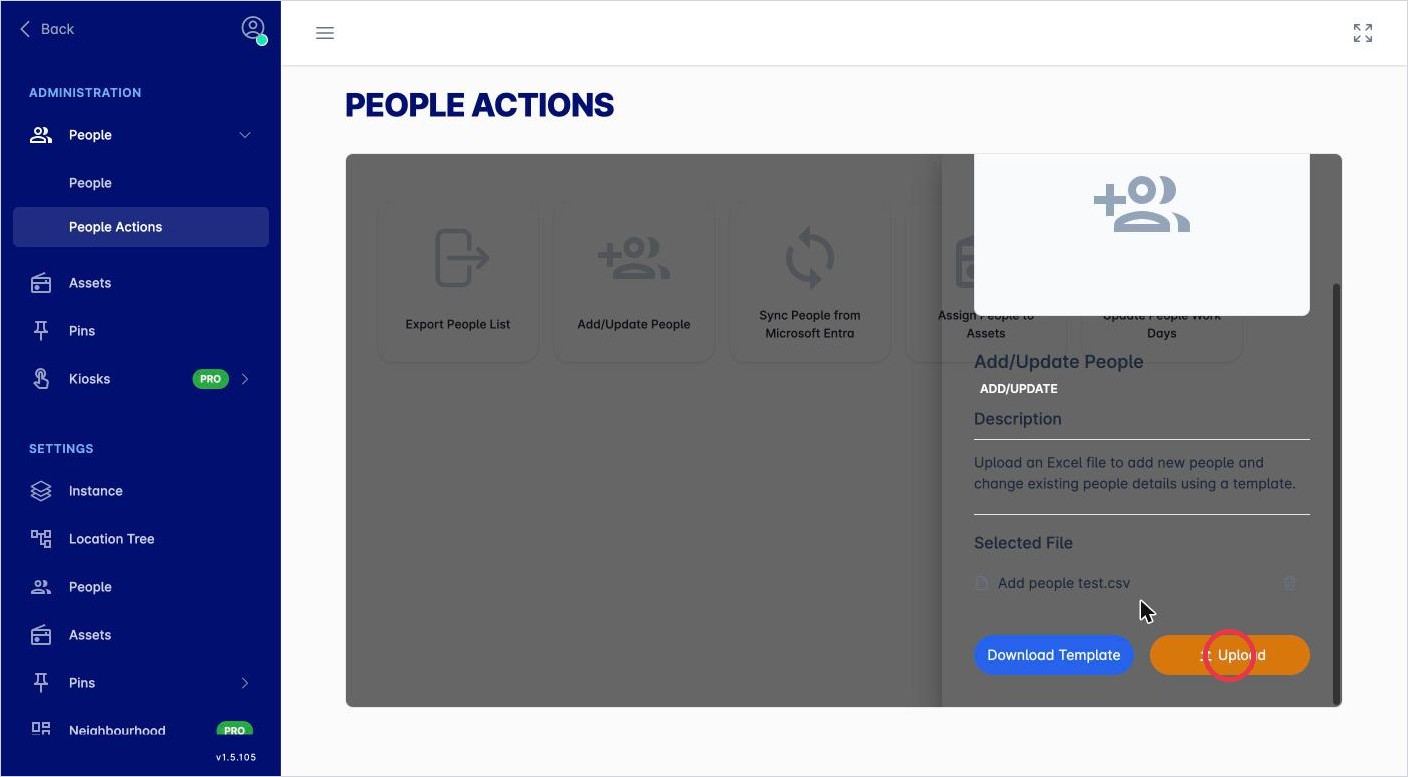
The file is selected. Click Upload.
A results window lists each row. Success means the person was added or updated.
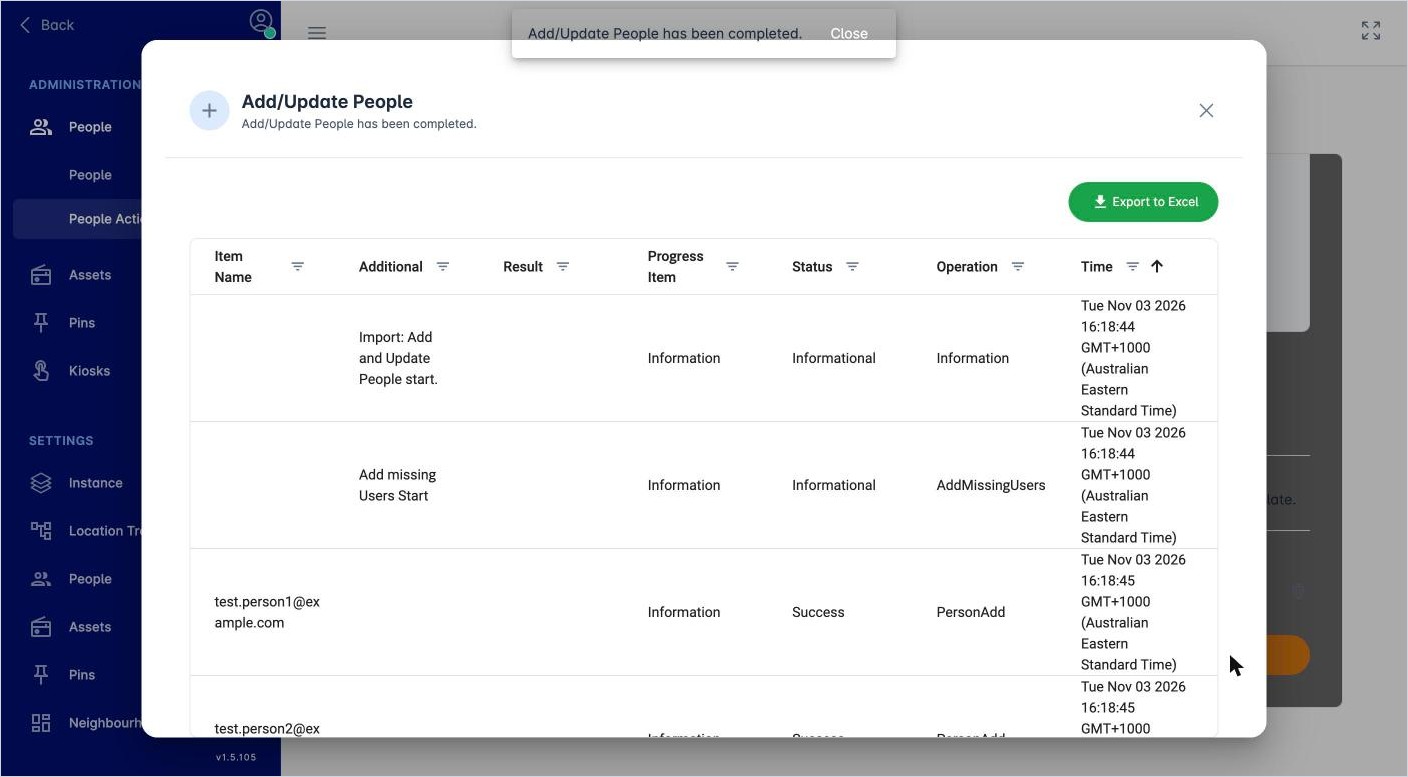
Click Export to Excel to keep a copy of the results.
Seat people on desks (Assign People to Assets)
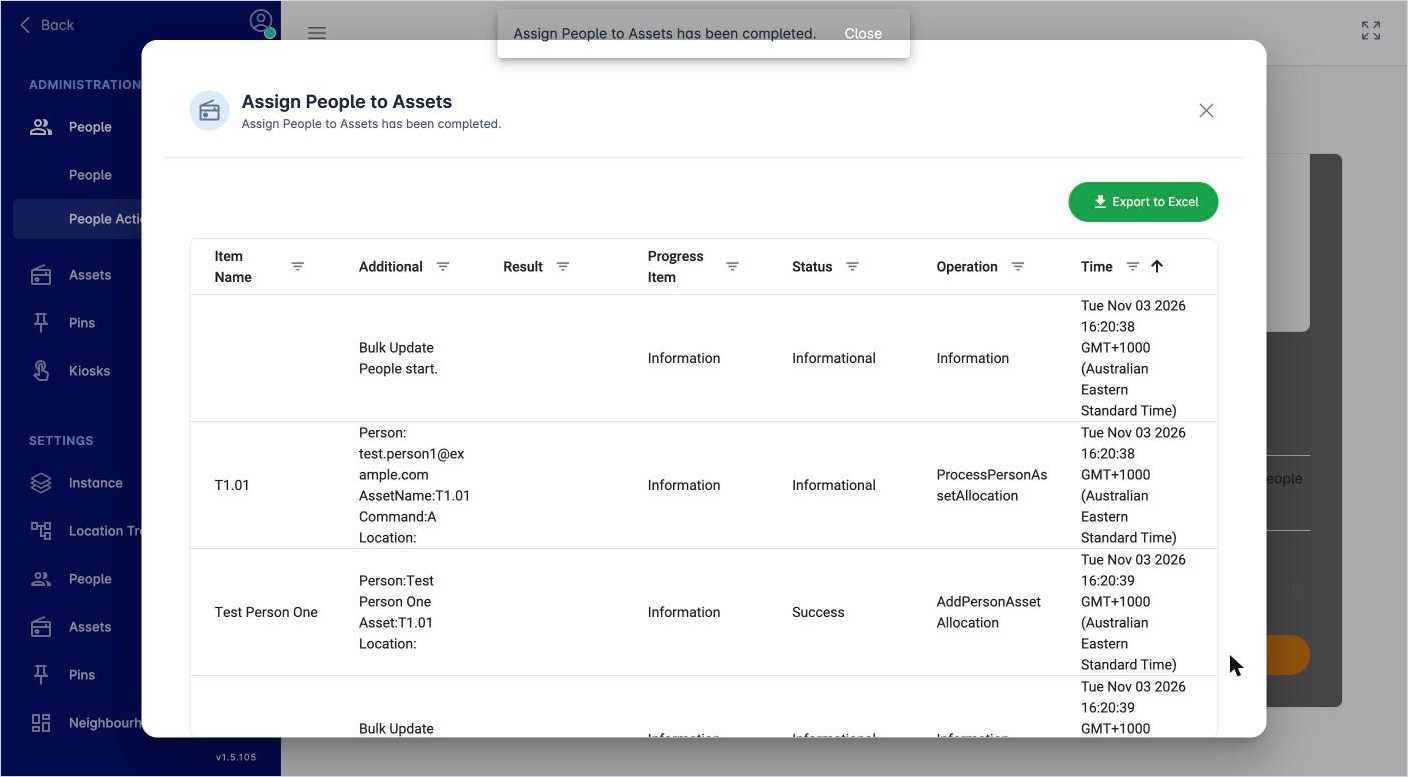
The template has these columns: Person (username or email), Asset (the desk’s name), Command, AssetLocation, PersonId and AssetId. Use either the name or the ID for each.
Common commands:
|
Command |
What it does |
|---|---|
|
A |
Adds the person to the asset, keeping any other allocations. |
|
R |
Removes the person from the asset. |
|
M |
Moves the person: clears their other desks, seats them here and clears anyone else from this asset. |
|
CP |
Clears all of the person’s allocations. |
|
CPD |
Clears the person’s desk allocations only. |
|
CA |
Clears everyone from the asset. |
|
A-F |
Adds the person, but only if the asset is free. |
Rows run from top to bottom. Asset names must be unique: if two assets share a name, fill in AssetLocation or use AssetId.
Set workday plans (Update People Work Days)
The template has PersonId, Person, then one column per day: SundayTW to SaturdayTW for this week and SundayNW to SaturdayNW for next week. In each day, put:
-
O for Office
-
R for Remote
-
N for Non-workday
Leave a day blank to keep its current value.
Export everyone
Click Export People List to download every person and their details. This is a good starting point for an update file.
Tips
-
Keep the template’s column headings exactly as they are.
-
Run Export People List before a big update, so you have a copy of how things were.
-
Check the results window for any row that didn’t succeed, fix it and upload just that row again.