
Wondering what the extra buttons on the floorplan are for? This article explains the admin tools on the map: choosing what shows, saving views and switching to edit mode.
Open the floorplan
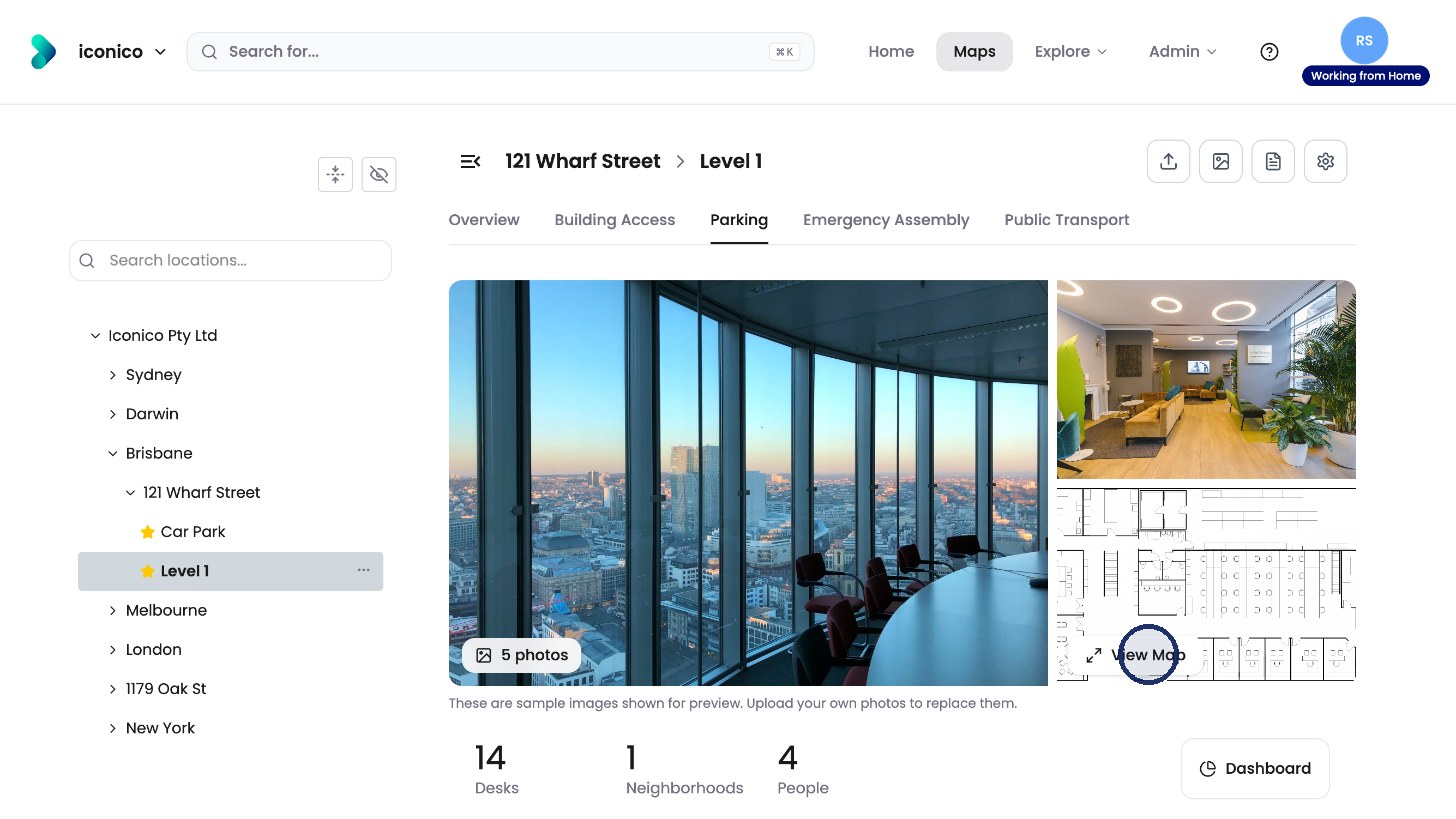
Open a level and click View Map.
View settings
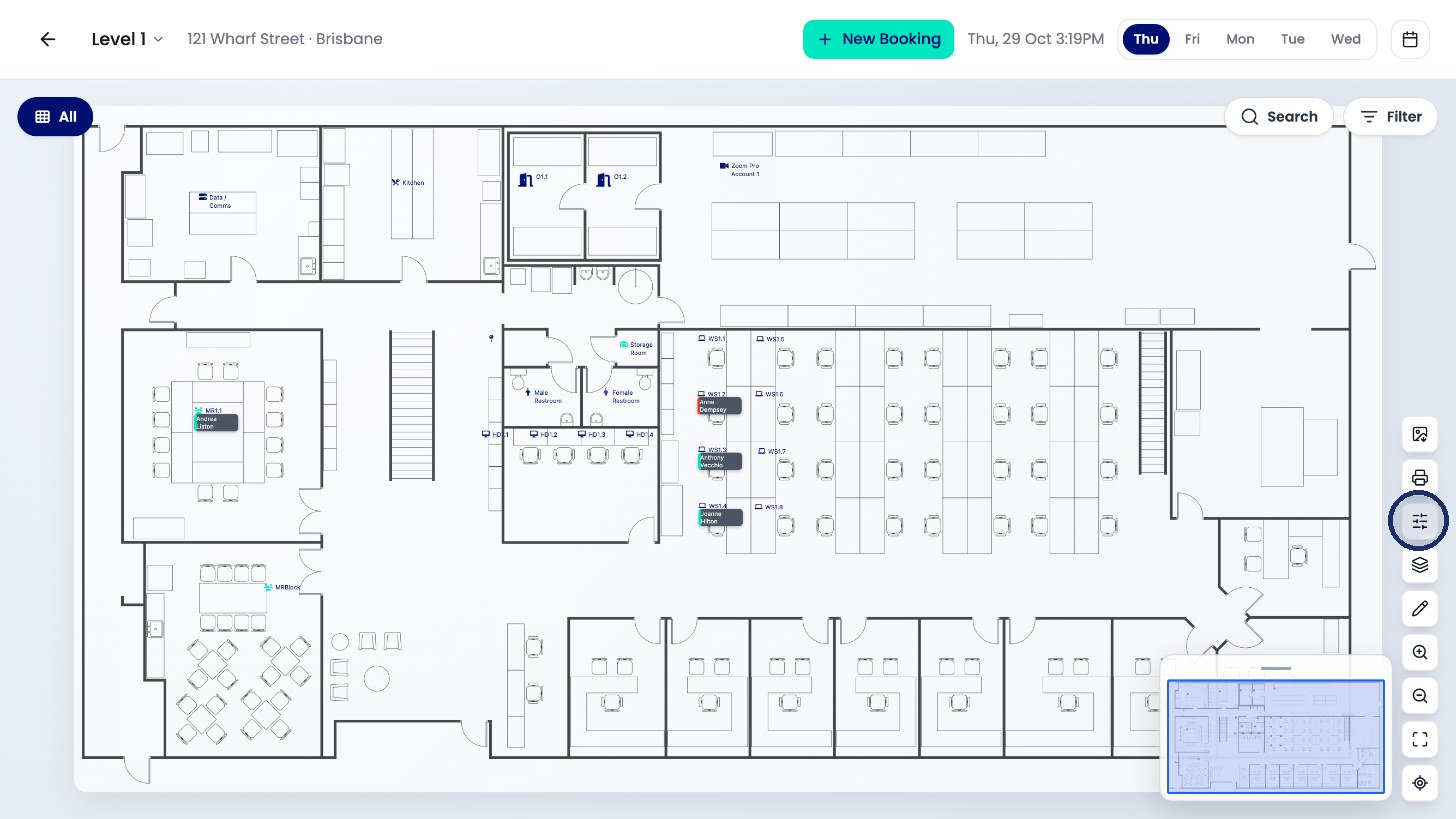
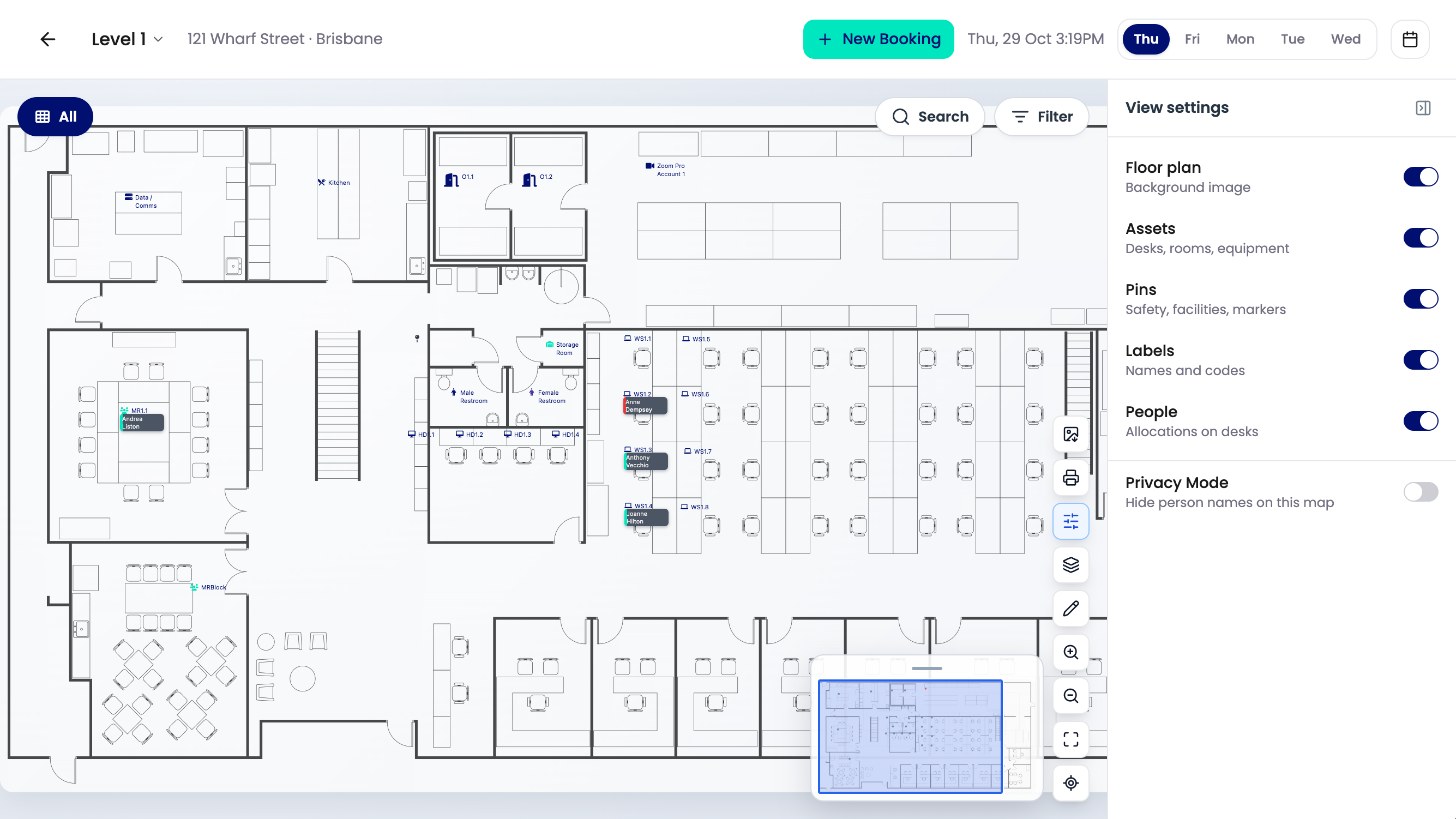
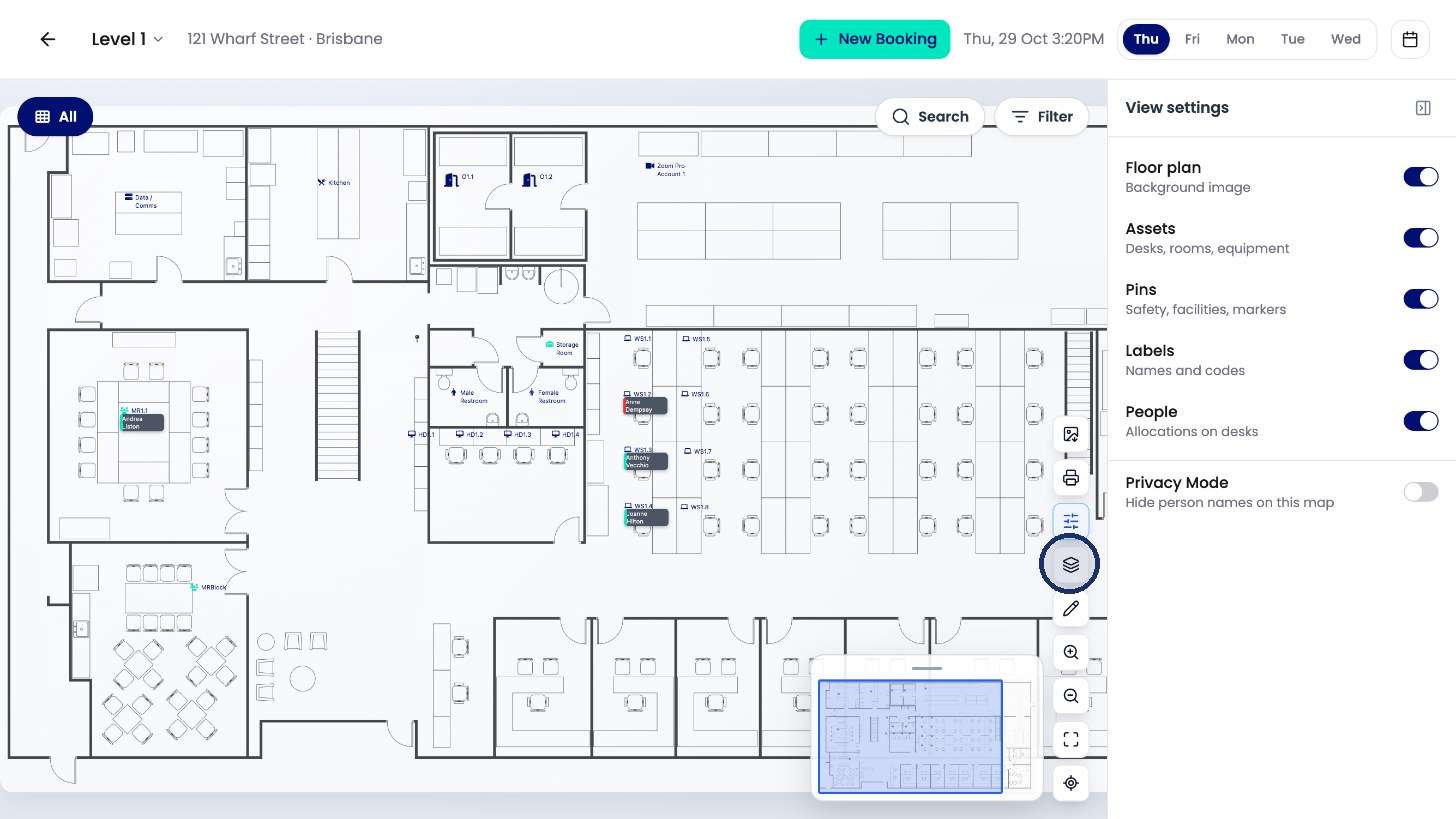
Click View settings (the sliders icon on the right) to choose what shows on the map: the floor plan, assets, pins, labels and people.
Privacy Mode
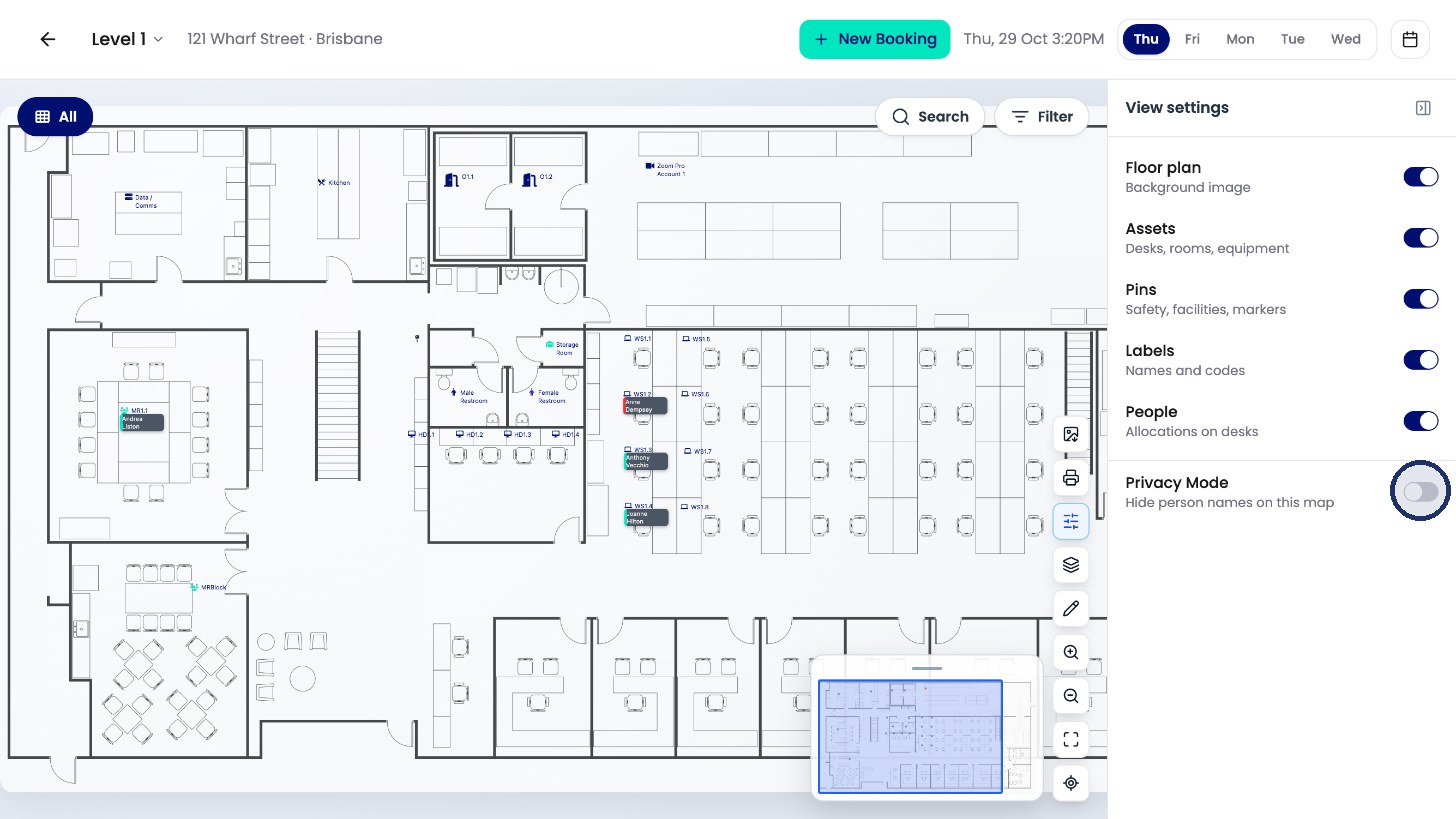
Turn on Privacy Mode to hide people’s names on the map.
Saved views
The Layers button opens Views, where you can save views of this floor.
To save a view:
-
Set up the layers and zoom you want.
-
Click Add new View.
-
Give the view a name and choose an icon.
-
Click Save View.
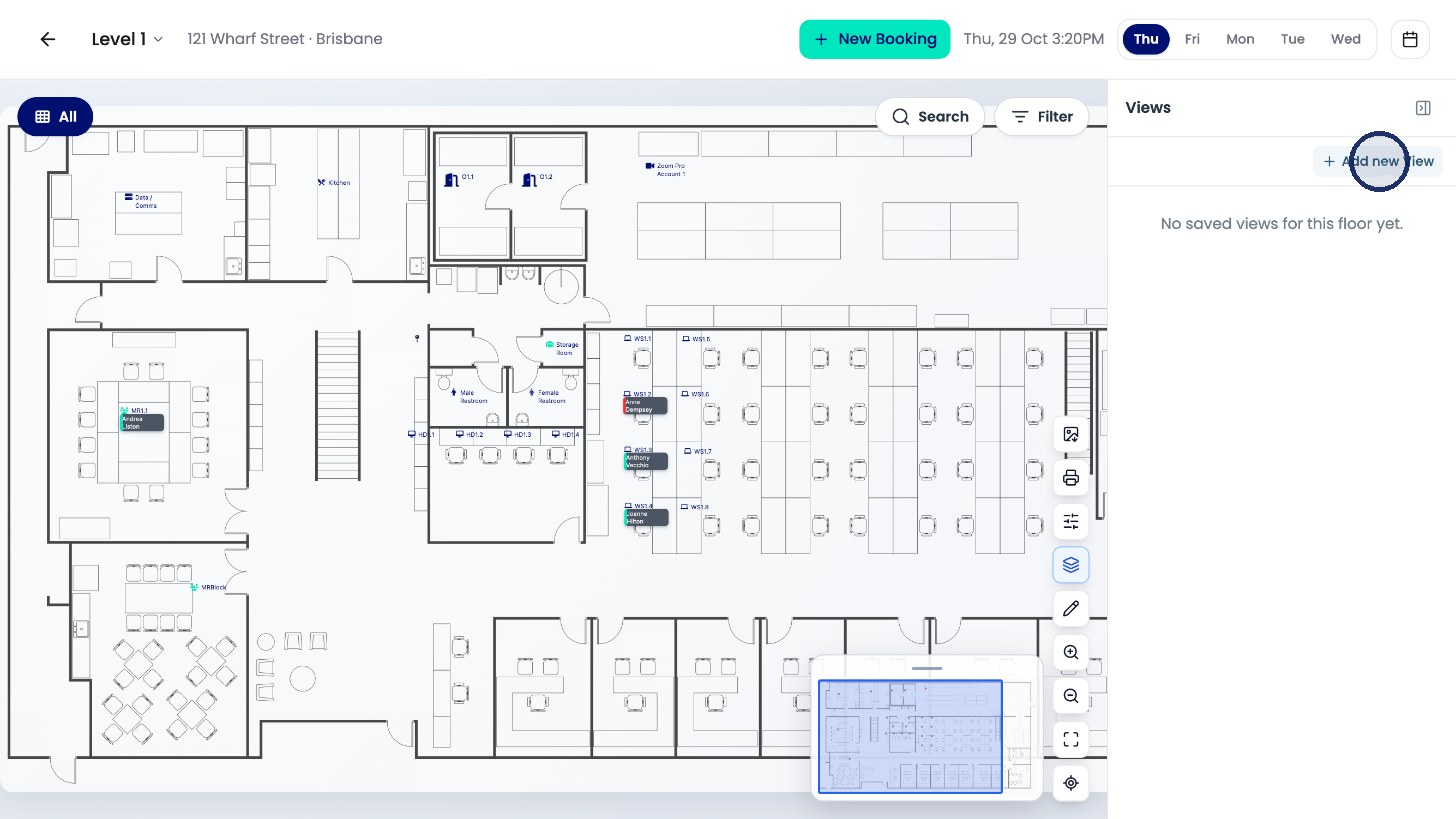
Click Add new View. 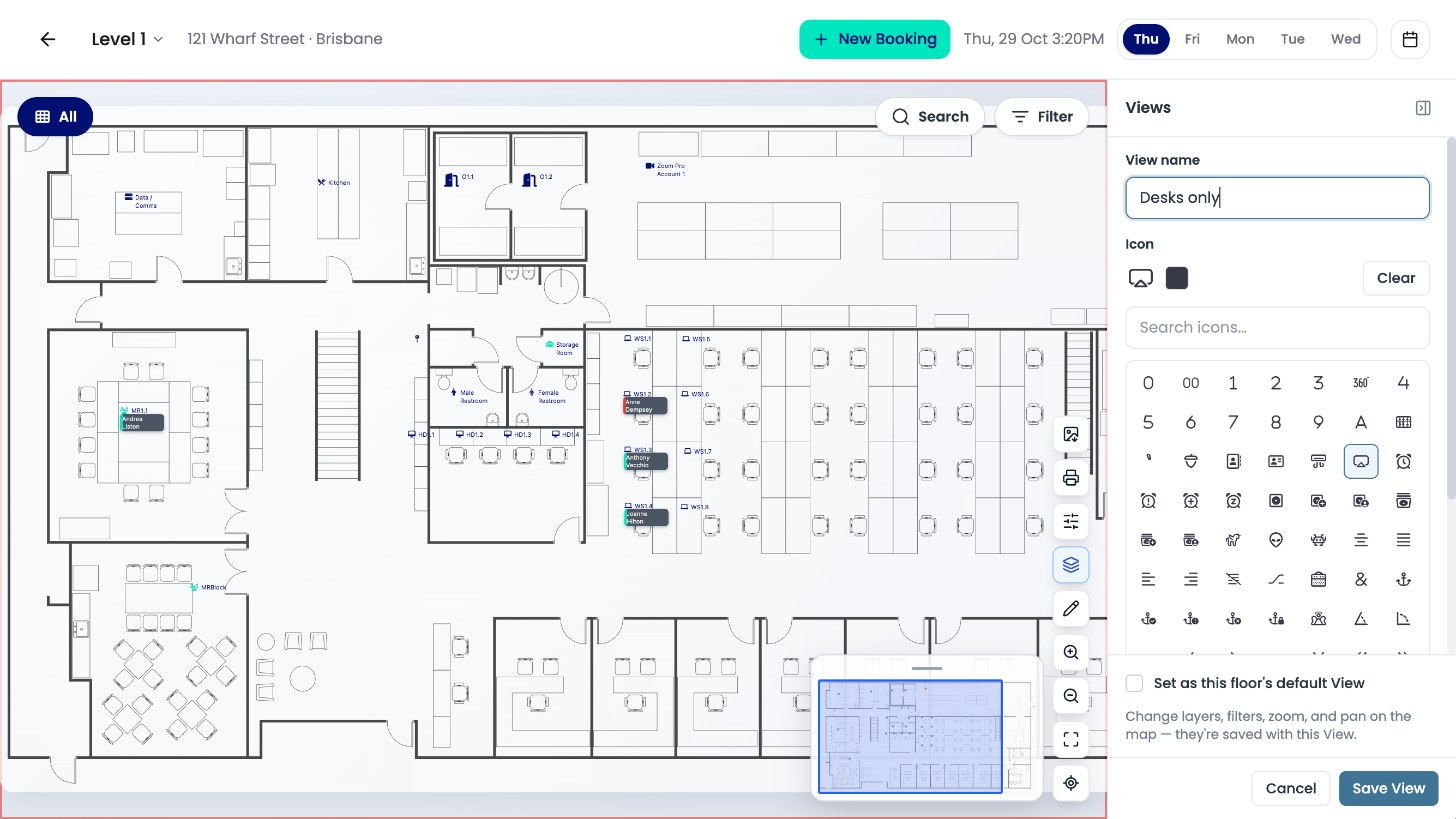
Name the view and save it.
Edit the map
The pencil opens map editing.
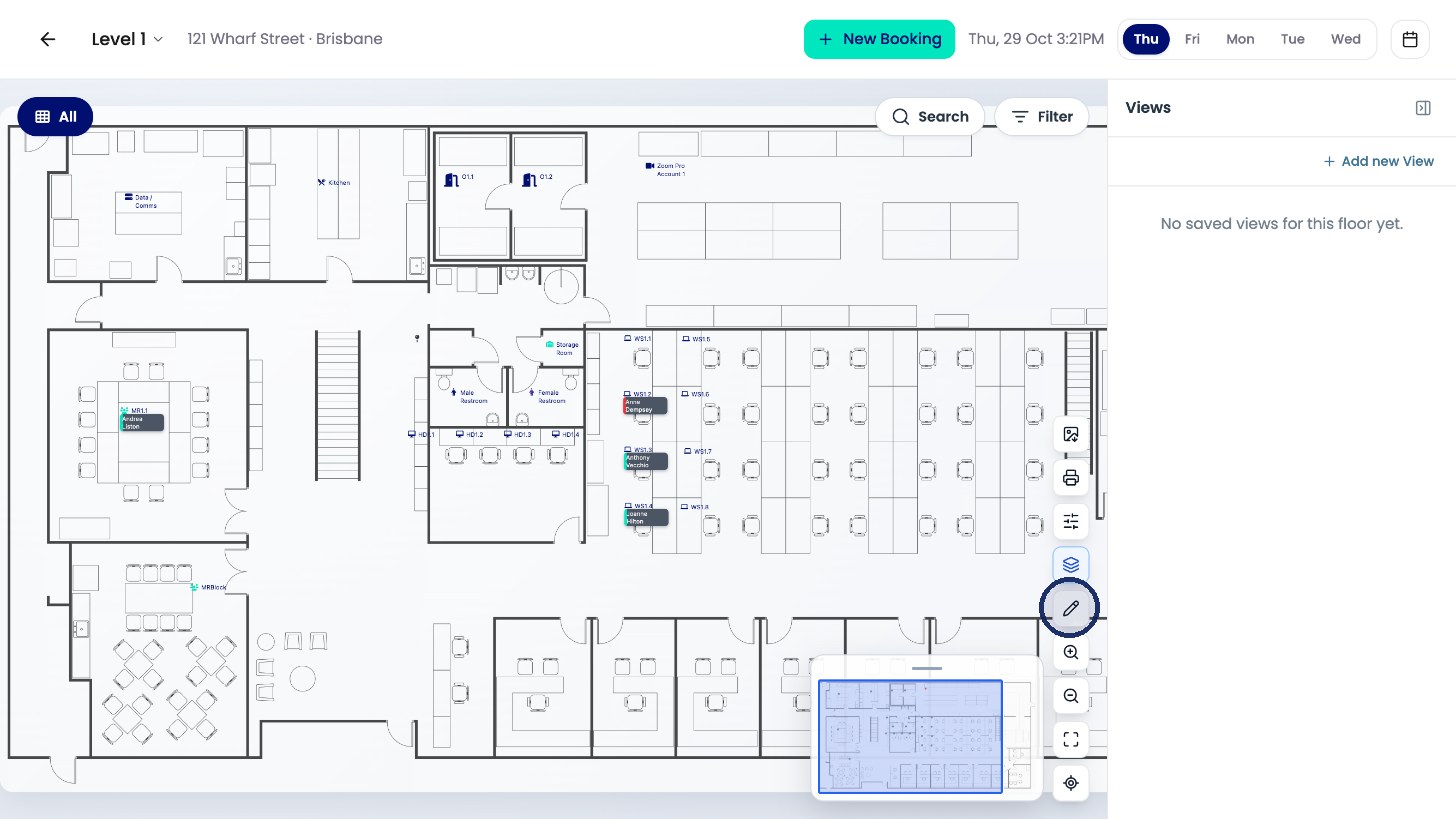
Caution: Changes in map editing go live straight away, so take care.